Get Your Garage Floor Ready to Shine: A Comprehensive Guide to Epoxy Coating from Start to Finish!
Author: Mike Day
With over 20 years of experience in installing garage floor epoxy coatings, I know firsthand the incredible transformation that a well-done DIY project can bring to a garage space.
Imagine being able to walk into your garage and see a clean, polished surface that resists stains and spills, and is durable enough to withstand years of use.
With the right tools, materials, and techniques, a DIY'er can achieve a professional-looking epoxy floor coating on their own, without the need to hire a costly professional.
But don't be fooled by the seemingly simple process - there are plenty of pitfalls to avoid, and taking shortcuts can lead to disappointing results.
That's why I've put together this 6 step guide to help you achieve a beautiful, long-lasting epoxy garage floor coating that you can be proud of for years to come. So roll up your sleeves, gather your supplies, and let's get started!
See some of the many epoxy floors we've installed for our customers at Day's Concrete Floors, INC.

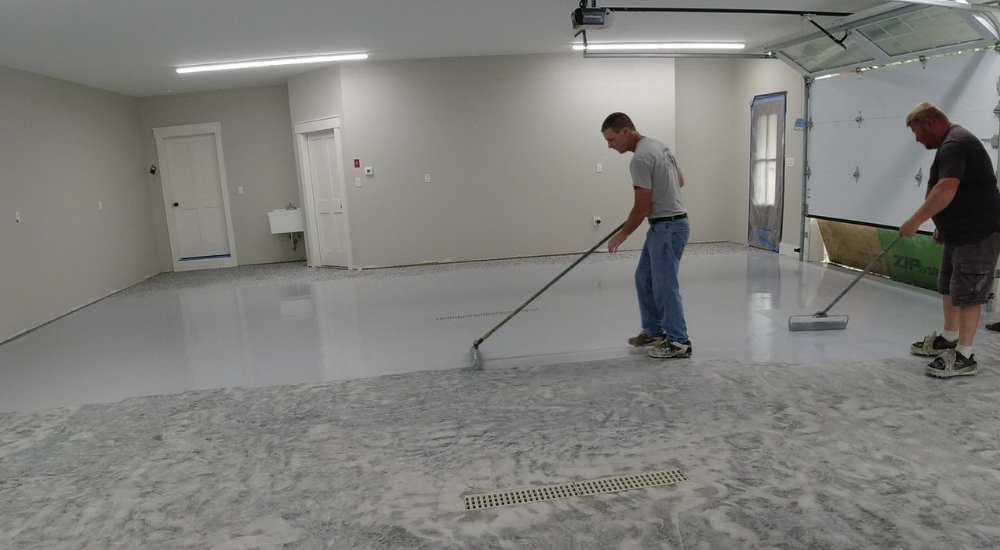
We're installing epoxy garage flooring to this 1400 sq. ft. garage
Absolutely! Installing an epoxy garage floor can be a challenging but rewarding DIY project for homeowners.
However, it's important to note that the process requires careful preparation and attention to detail to ensure that the epoxy flooring adheres properly and cures evenly.
Additionally, safety precautions must be taken when working with epoxy resin as it can emit fumes that can be harmful if not properly ventilated.
On a scale of 1 - 10, I'd rate it a 5 with 1 being easy and 10 being very hard.
But don't let that deter you from the project! If you're willing to put in the time and effort, the end result can be an amazing-looking garage floor that you can be proud of.
If you want to learn from me, I've put together a step by step video training tutorial on installing garage floor epoxy.
These are the same 6 steps I use to install my customer's garage floor epoxy.
STEP 1. Clean out the garage
STEP 2. Check for moisture issues
STEP 3. How to properly prep the concrete surface
STEP 4. How to apply the base coat of epoxy and broadcast the decorative flakes into it
STEP 5. Scrape, Clean, and vacuum any excess flakes before top-coating
STEP 6. How to apply the clear coat protective top coating
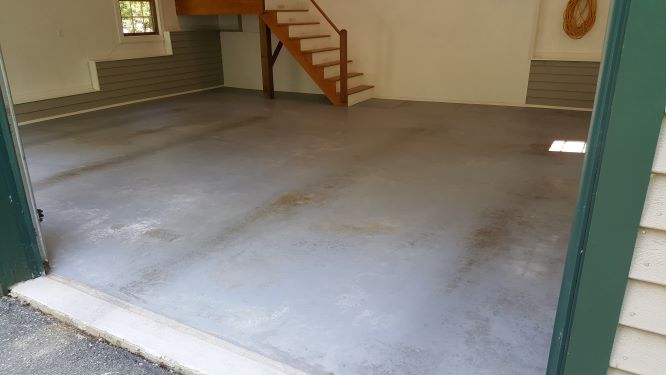
Cleaned and swept out garage ready for the prep work.
The first thing you'll need to do is clean out the garage and sweep or vacuum the floor.
Most garage floors are good candidates for an epoxy coating but not all of them are.
If your garage floor is in fairly good condition with no oil stains, no paint, or no previous sealers, then it's probably good to start the prep work.
If your garage floor has a few minor cracks and a little spalling, that's pretty easy to fix. I can show you what to use and how to fix those cracks.
If it's a brand new garage floor that hasn't been already sealed then you're ready to go. You just have to give the concrete at least 30 days to cure to make sure you won't have moisture issues later on.
PRO TIP: If your garage floor has a lot of oil spots, big uneven cracks, white powdery stuff (efflorescence) on the surface, then it's probably not a good candidate and you should consult with a PRO before moving forward.
Also, If you already have epoxy paint or some type of garage floor paint on the floor, that's ok, it just makes the prep work more difficult. (you got to grind all that off)
The garage floor in the picture above was about 15 years old and had epoxy paint installed about 10 years prior to us getting hired.
The Problem: The surface of the concrete wasn't properly prepared and the epoxy paint was wearing off, especially under the vehicle's tires.
The solution: We did proper preparation, used high-quality, extremely durable epoxy kits and the new epoxy flooring came out beautiful (See below)
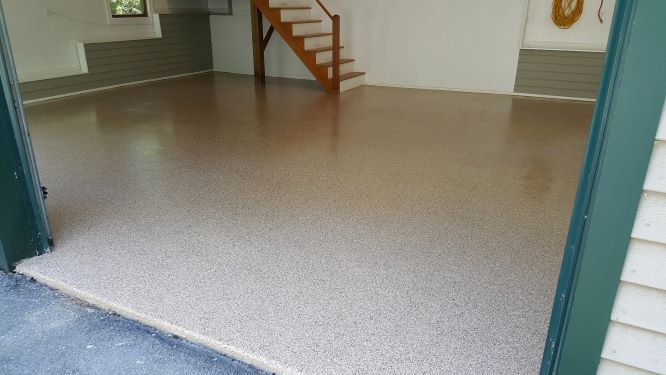
The finished epoxy garage floor after following the 6 steps
There's 3 major reasons concrete coatings might fail, blister, and peel off.
The first is moisture coming up through your floor in the form of vapor. It's called moisture vapor transmission.
If your garage floor has any moisture issues, you need to know before coating it. (Sometimes it's not easy to see)
The 2nd and 3rd reasons are poor surface preparation and using inferior, low quality, epoxy materials. (No worries here, I'll cover these down below!)
How do you check for moisture in your concrete floor?
Well, there's a few ways, one way is to do a calcium chloride test or a Relative Humidity test.
However, probably the easiest way to test for moisture in your concrete floor is doing a plastic (Visqueen) test.
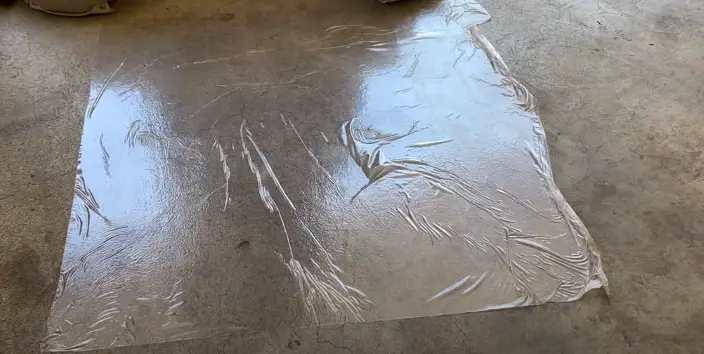
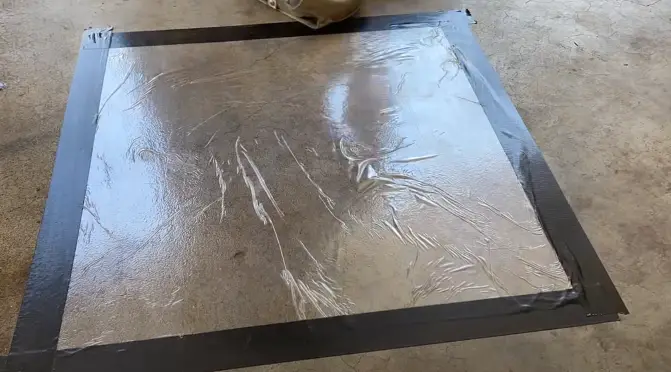
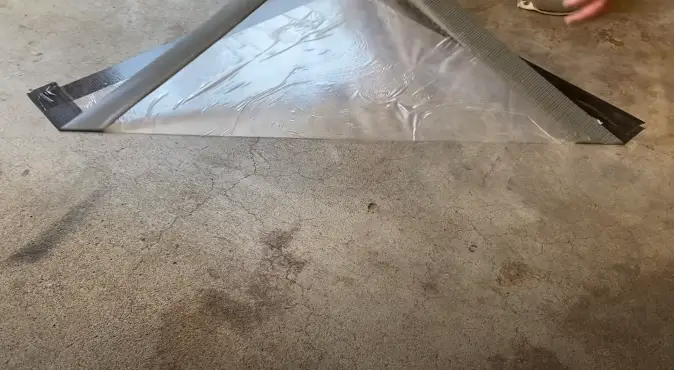
This moisture test will require you to tape down a 2' by 2' piece of plastic to your garage floor.
You can use 2 mil, 3 mil, 4 mil poly or even a trash bag. Just duct tape the edges really good. Leave the plastic on the floor for 24 hours.
After 24 hours, remove the plastic. If you don't see a wet surface, or darkened surface, and no moisture droplets are on the bottom of the plastic, then your floor probably doesn't have moisture issues and you're good to go.
If you see any of those issues, then I would consult with a PRO before moving forward. Moisture will blister and peel your new epoxy epoxy floor in no time.
There is a moisture vapor blocking epoxy primer that may fix this problem, but trust me, leave that to an expert.
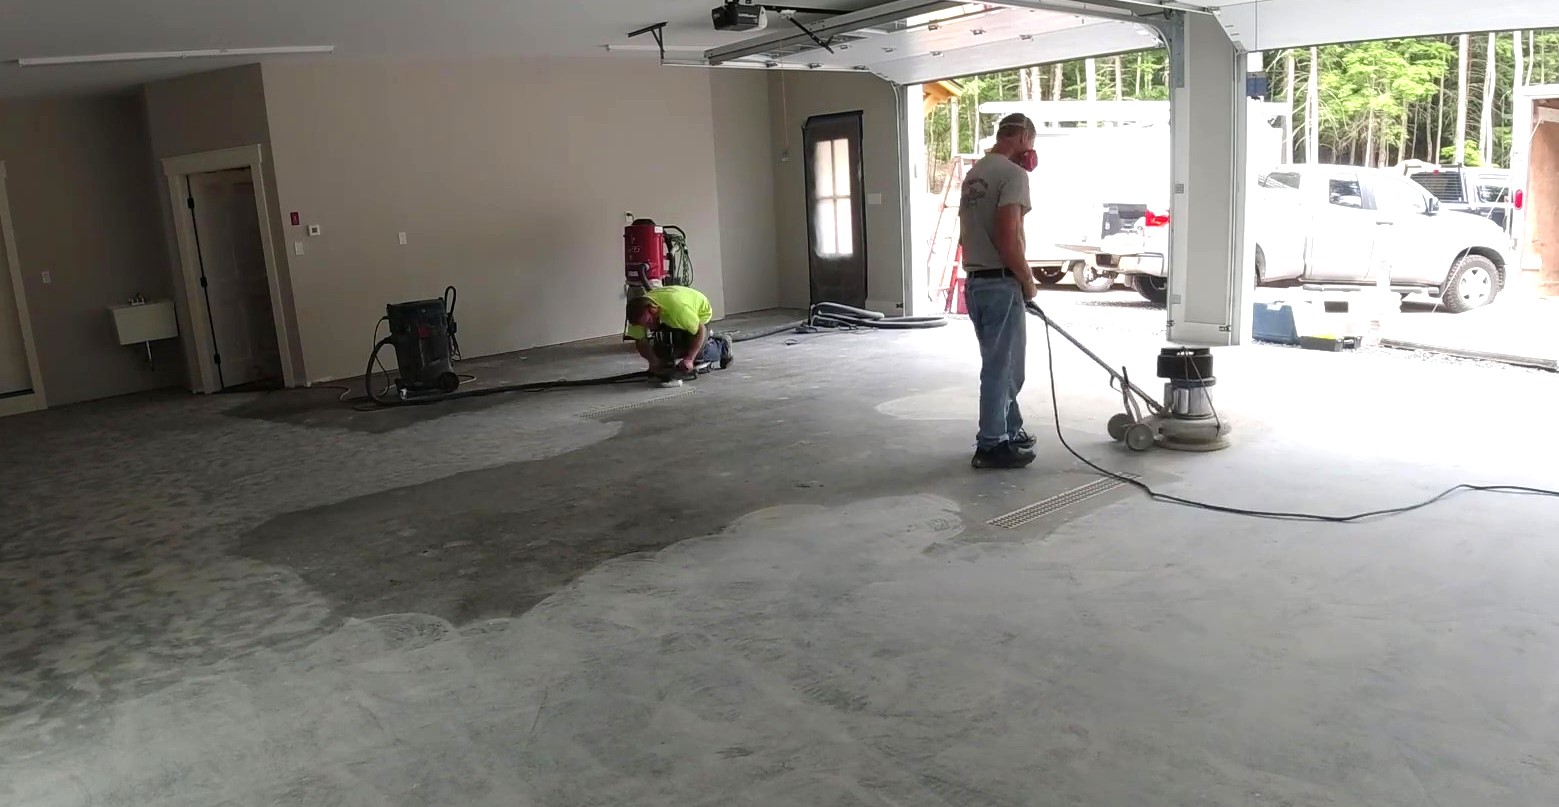
I'm using a floor buffer with a Diamabrush attachment to grind the concrete surface
As I said above, I'm a contractor that installs a lot of epoxy garage floor coatings.
This is where my experience and expertise can really help you do this part correctly.
I recommend that you lightly grind the concrete to properly prepare the surface.
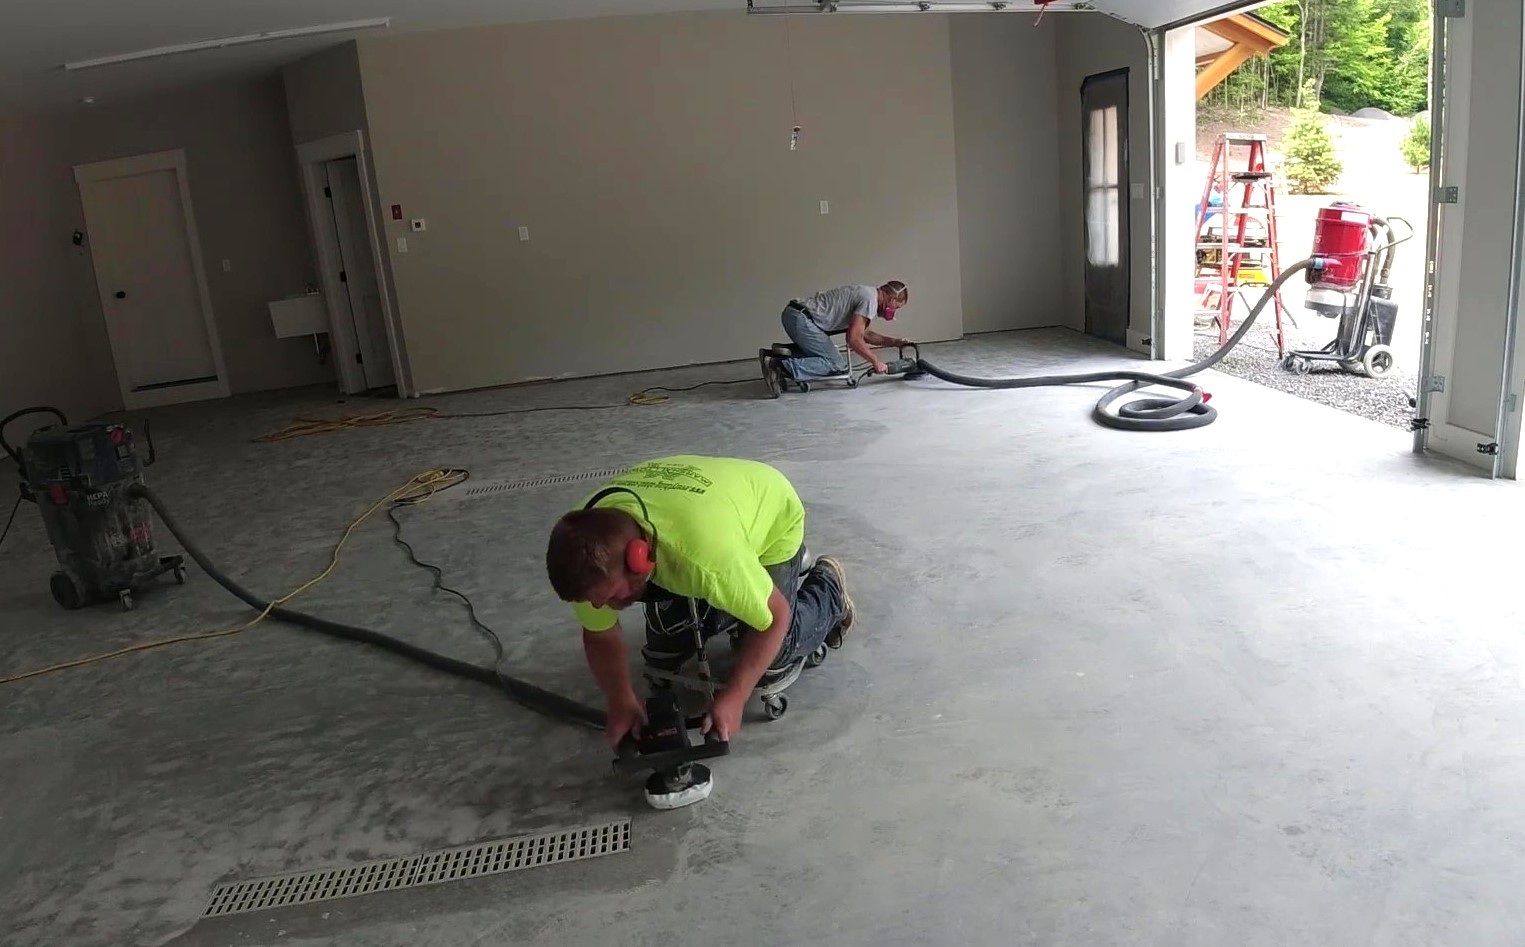
We're using 7" and 5" hand grinders to prep the concrete for epoxy.
We use all three of those methods depending on the condition of the concrete floor and the square footage of the concrete floor.
Above, we're using both the handheld grinders and a floor buffer Diamabrush tool. Both of these methods will properly prepare the concrete so the epoxy will adhere and not peel off.
Quick Tip: We never wash, acid-etch, pressure wash, or rinse the garage floor to clean it. The grinders do all the cleaning of the surface and prep all in one.
We just vacuum thoroughly to remove any dust, we'll also use a leaf blower to blow out any residual dust.
Pro Tip: Never wet the concrete before you epoxy it. Concrete is like a sponge, it'll soak up all that moisture and now you have to let it dry out for days before applying the epoxy coating.
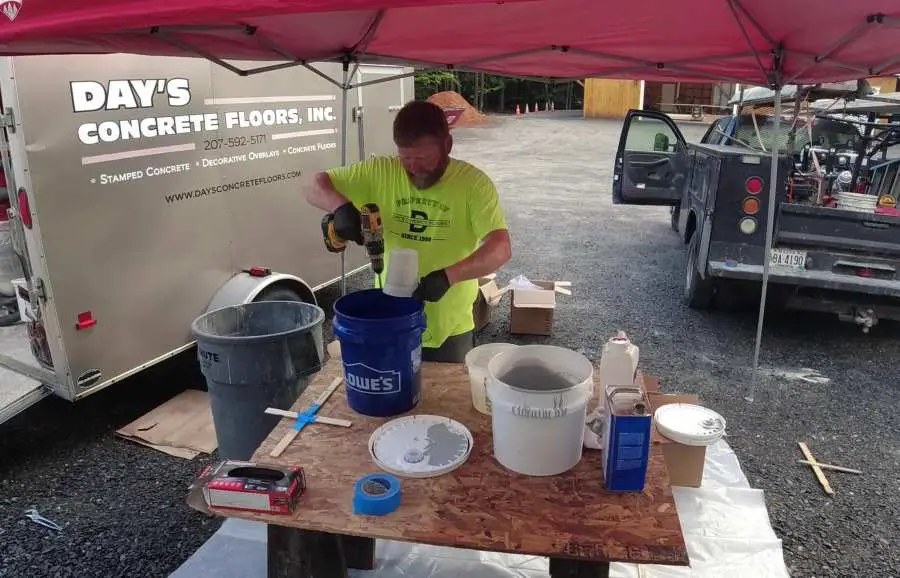
Have a mixing station to mix the epoxy resin off of the floor
It's best if you set up a mixing station for the person doing the measuring and mixing of the epoxy resin.
This can get a little messy at times so don't do it on the garage floor.
Have your drill and mixing paddle ready, measuring buckets, epoxy kits, gloves, rags, and some cleaner like Acetone to wipe up any spills or clean your tools with.
If there's more than one person helping, have the same person do all the measuring and mixing. Epoxy has to be mixed according to the instructions or you'll have problems.
I like to use epoxy2u.com's garage floor coatings for my epoxy floors.
They have very high-quality epoxy that's easy to mix, apply, and gives you plenty of working time.
It comes in a 2 gallon kit which will coat between 400 - 450 sq. ft.
It's also very durable and will withstand years of vehicle traffic, foot traffic and the overall abuse a garage floor gets on a daily basis.
I've also had a very good experience ordering and getting the epoxy shipped to my house.
You can also purchase your decorative flakes from them. They have about 14 different colors to choose from.
Here's what I use for coverage rates on my epoxy floors:
BASE COAT - I figure 220 square feet per gallon. So on a 24' x 24' garage, I'll plan on using 3 gallons.
TOP COAT - I figure 130 square feet per gallon. So on a 24' x 24' garage, I'll plan for 5 gallons.
COLOR FLAKES - I figure 12 lbs per 100 square feet of floor. So for a 24' x 24' garage, I'll get 75 lbs.
(This is for a full broadcast flake floor which is what I always do.) I don't recommend sprinkling on just a few flakes. The flakes add to the durability of the coating and offer some slip-resistance too.
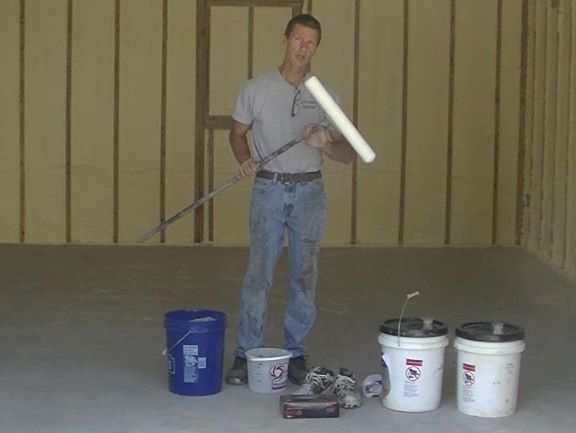
It's important you have the right tools and supplies to mix the epoxy and roll it on your concrete floor.
You'll mix your epoxy base coat according to the manufacturer's mixing instructions.
The ratio of E2U Epoxy 6150 is 2 to 1.
That's two parts A (resin) to one part B (hardener). Mix the epoxy with a drill and mixing paddle.
Two gallons of mixed epoxy will cover an area of 440 square feet.
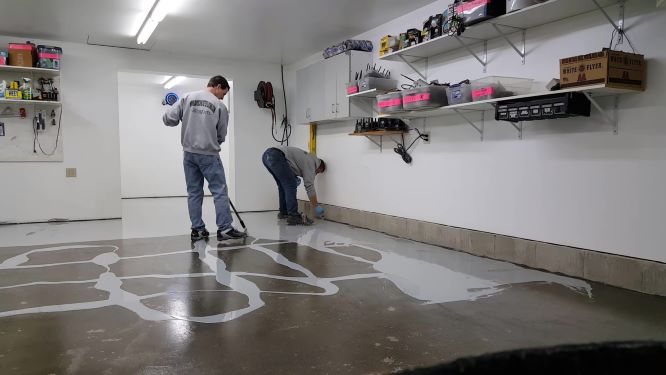
Pour the epoxy out in ribbons like this, then roll it N to S, and E to W.
Pour out all your mixed epoxy (2 gal.) around the edges first and then in the middle of the floor.
Remember, this 2-gallon kit will cover about 440 square feet so have that measured out and marked with some blue tape on the wall so you'll know how far to spread and roll out the epoxy.
PRO TIP: Don't leave any epoxy in the bucket, it'll set up too fast. Dump it all out and you'll have 20 - 30 minutes of time to get it rolled evenly.
I like to have one person cut in the edges using the chip brush. Then they use the 4" roller and roll the edges.
While another person spreads and rolls out the rest of the floor.
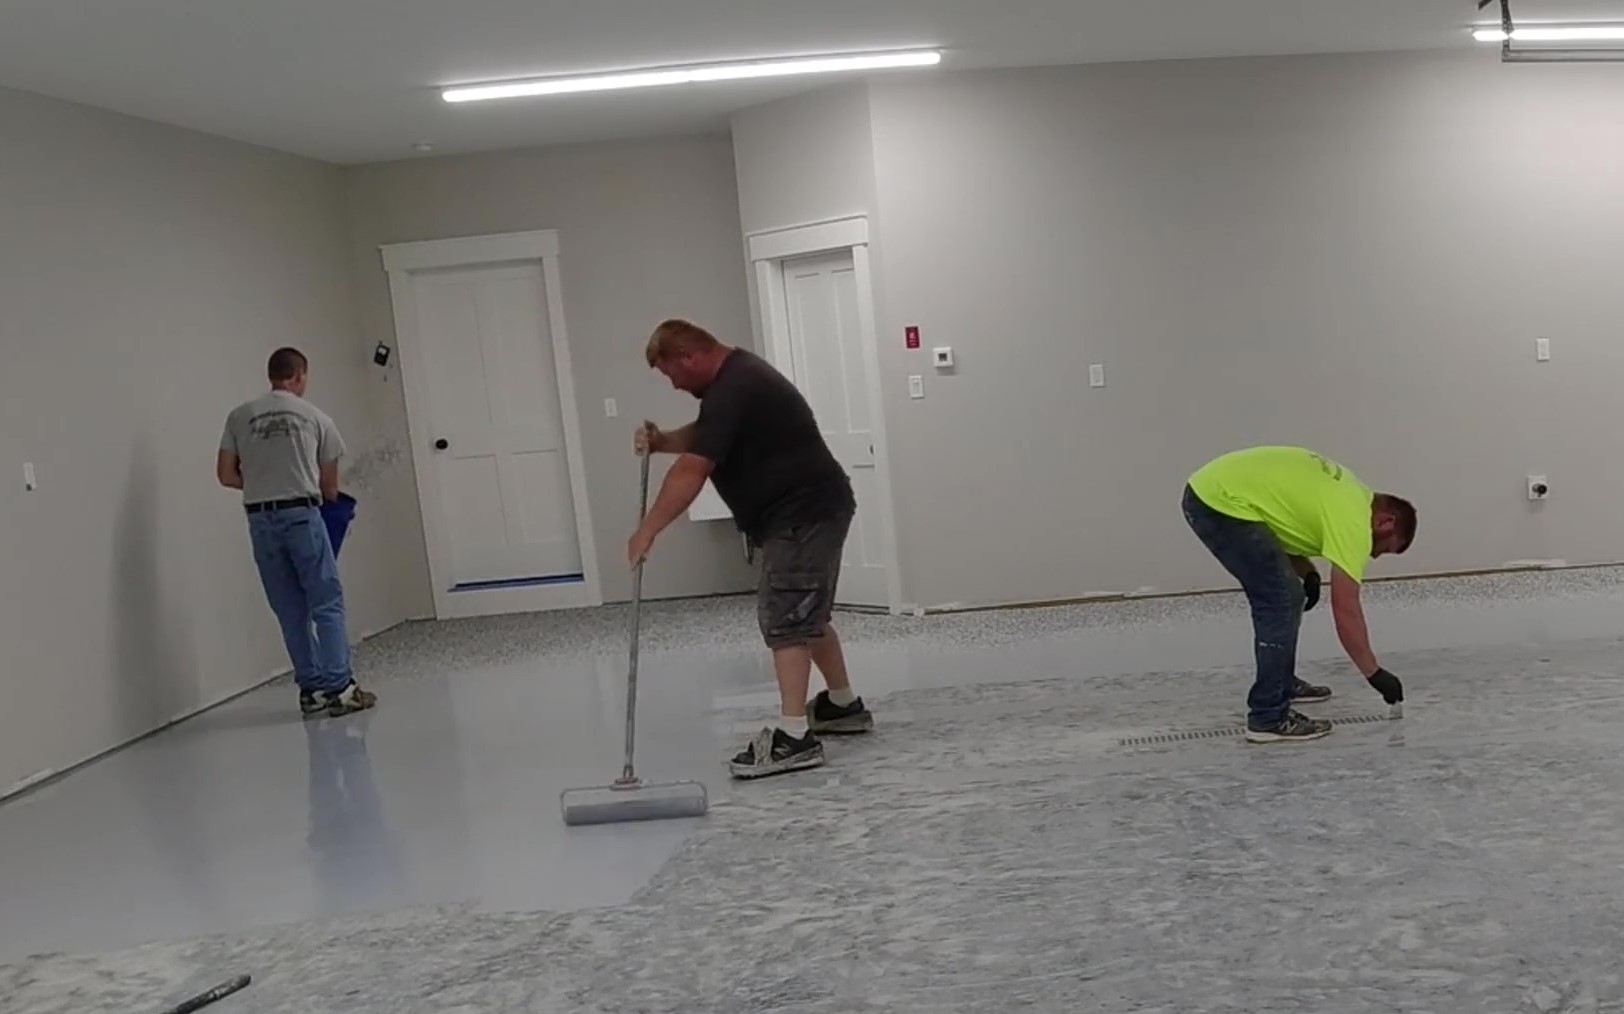
Roll the epoxy evenly according to the coverage rates.
Roll out the epoxy, according to the coverage area, as evenly as possible.
Roll it North & South, then step right into it and roll it East & West. Make sure you have your spiked shoes on!
It's very important you have the base coat rolled uniformly with no thick roller marks or thinner areas visible.
Once you have the first 2-gallon kit all rolled out, continue mixing and applying the next kit of epoxy, until you cover the entire garage floor.
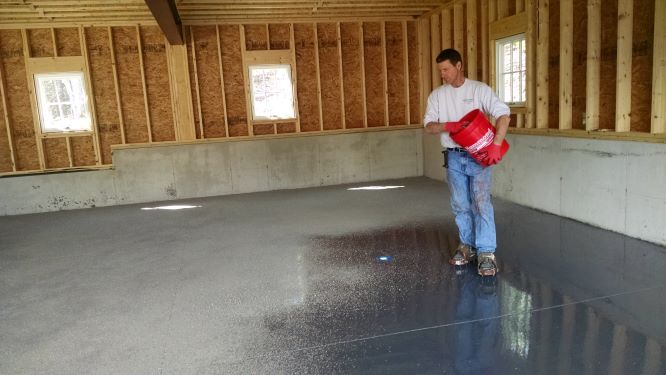
Broadcast the flakes into the base coat
Immediately after you cover the entire surface with the base coat, grab your bucket of flakes and walk back into the garage where you first started. (wearing spiked shoes of course)
Holding the bucket tightly, grab a hand full of flakes and throw them slightly up into the air so they spread out as they fall down into the epoxy.
Continue doing this until you completely cover the base coat. The higher you throw the flake into the air, the more evenly they will spread out as they fall into the epoxy.
After a section is completely covered, keep moving and cover the entire floor in the same sequence you rolled on the epoxy.
After broadcasting the flake, if you see a "wet" area of some base coat, just throw on some more flake in that area.
PRO TIP: Some of the flakes will "soak" into the epoxy after you broadcast them. This may take a minute or two, it's normal, just re-broadcast more flake over these areas to cover up the epoxy.
The next day, after the base coat has fully cured it's time to scrape and vacuum the flake to prepare for the top coat.
Most epoxy coatings will take between 4 and 8 hours of cure time before you can scrape and vacuum the flakes. (Cure time for the 6150 epoxy is 8 hours)
Check your epoxy specifications for cure time if you use a different brand.
Since we do this for a living, we prefer to use a rapid cure epoxy that cures in 1.5 hours.
The rapid cure time allows us to do the whole project in 1 day.
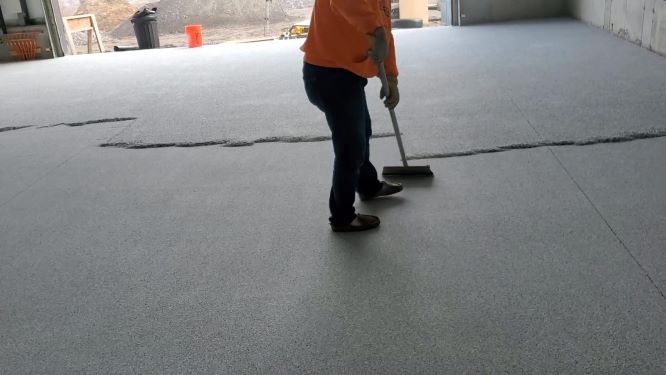
Lightly scrape all the excess flakes to one side of the floor
You'll need a floor scraper, a small leaf blower, and a good vacuum for this part.
In the picture above we're using a 12" floor scraper to smooth the flake and remove all the excess.
Scraping the flake like this is kind of like sanding it. You want to cut off any sharp pieces of flake sticking up out of the epoxy. Plus, you remove all the "over broadcasted" flake at the same time.
We scrape in two directions, North to South like in the picture, then East to West, picking up and saving all the excess flake (you can re-use it).
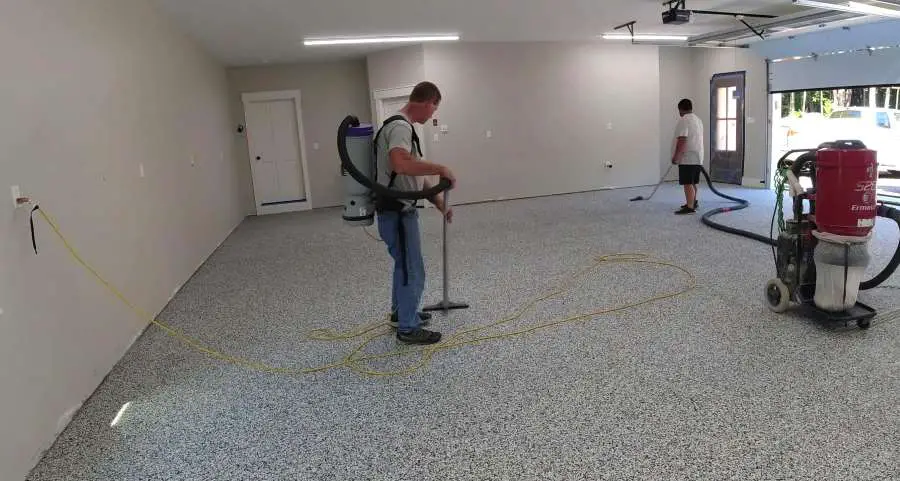
Vacuum to get the surface really clean!
Afterwards, we vacuum the entire floor really good to remove all the leftover flakes.
PRO TIP: After vacuuming, I'll take my leaf blower and blow the entire surface right out the garage door. This will remove any remaining flakes the vacuum didn't get. (there's always a few)
OK, once you've completed this step you're ready to move on to the top coat!
I recommend you apply a protective top coat of clear polyaspartic over your new epoxy floor coating.
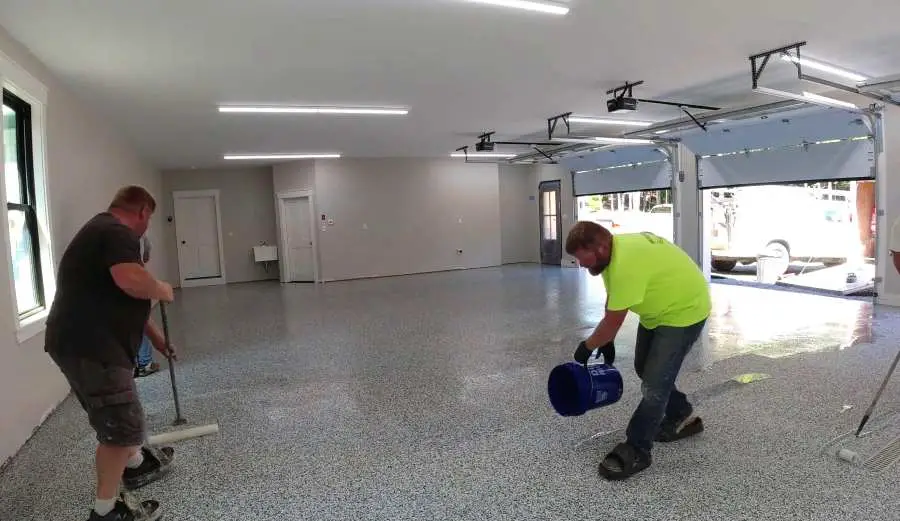
Apply a polyaspartic coating for a finished floor
I like to use E2U's Polyaspartic 85 Ultra for my final coat and apply it at a coverage rate of 130 square feet per gallon.
Right before I begin mixing, I start at one end of the garage and measure out 130 square foot sections of floor area. I use little pieces of blue tape stuck to the wall to mark these sections.
I use the marked off sections of 130 sq. ft. to make sure I spread the top coat at the proper coverage rate.
For example: If the garage was 24' x 24', I would stick a piece of blue tape at 5.5' intervals. 24' x 5.5' = 132 sq. ft. (it's ok to be +/- a couple feet)
The Polyaspartic 85 Ultra comes in a 2-gallon kit. I recommend you only mix one gallon at a time.
I personally mix 1 gallon at a time also, I mix 2 quarts of part A to 2 quarts of part B.
I use a paint stick to mix with, you can use a slow speed drill if you like. Both ways will work well.
Again, mix slow and steady for about 1 minute and you're ready to go.
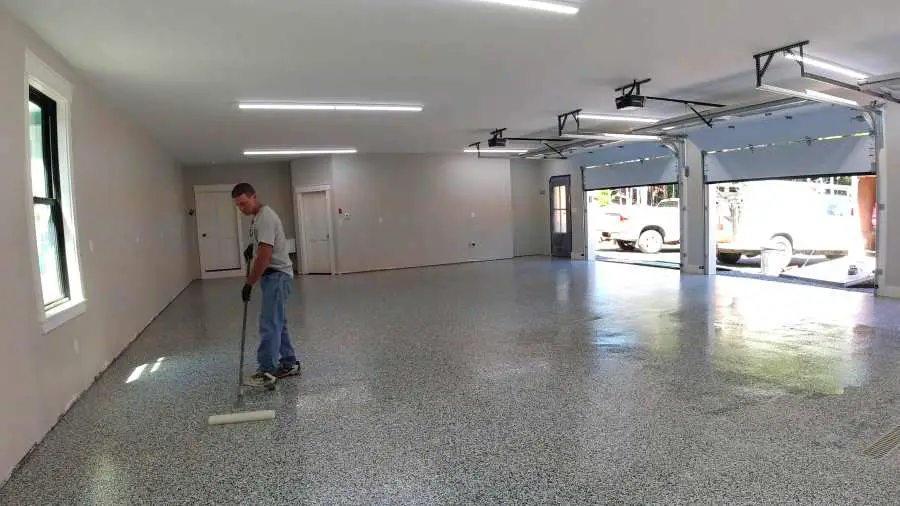
Work your way from one end to the other, section by section
As soon as the gallon is mixed, I ribbon some around the edges, then using the 2" chip brush I'll brush all the edges in that section.
After my edges are cut in, I'll use the 4" roller and back roll the edges.
Then, I ribbon out the rest of the gallon in the 130 square foot section and begin rolling it with the 18" roller.
I'm spreading and rolling it at the same time, it usually takes going over it twice to get it even.
PRO TIP: You have about 10 - 15 minutes of working time to get the 1 gallon spread out and rolled. This is plenty of time if you work steady and don't stop for any reason. (hint: stay off the phone)
Once I have it completely rolled out in that section, I walk back into it and starting at the top of the section I do one last roll, going from Left to Right without stopping. (wall to wall)
I call this backrolling. I continue to do this, setting over 18" for each pass, until I finish that section.
Now that section is done and you can move on to the next!
Do each 130 square foot section this way until you have the entire floor top coated.
Doing it this way ensures you have evenly rolled on the top coat and you don't have any puddles or thin areas left behind.
If you purchased an epoxy floor kit that doesn't have a protective top coat, then you're using an inferior epoxy floor coating in my opinion.
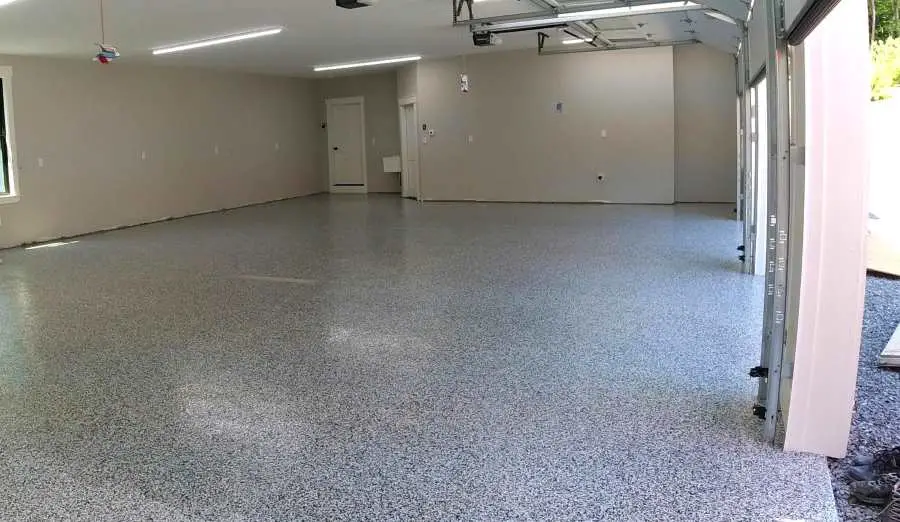
This is the garage floor all finished!
Below is another finished epoxy garage floor we installed for one of our customers.
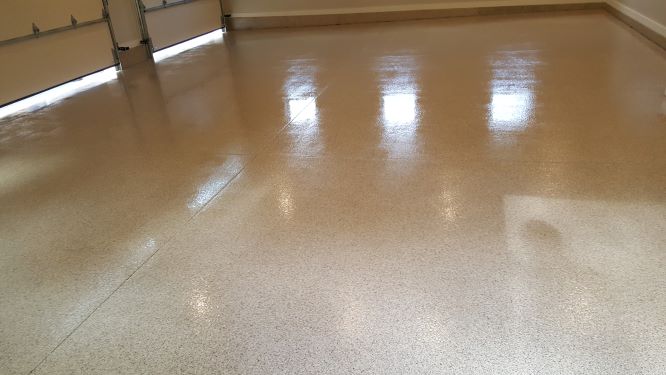
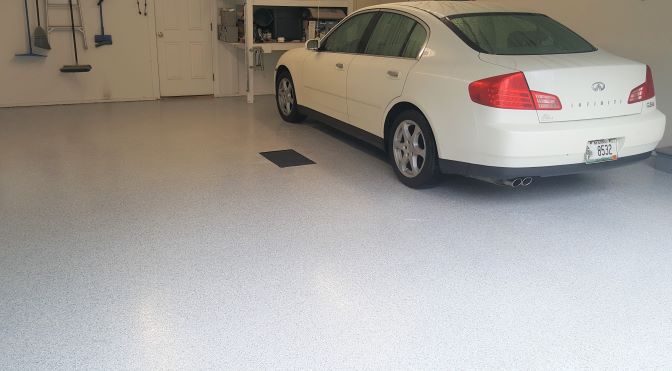
Two car garage with finished epoxy floor
I install a lot of epoxy garage floor coatings for my business Day's Concrete Floors, Inc.
When I figure out the cost of materials for my epoxy floors, I use $3.50 per square foot to calculate my cost. (this figure doesn't include any of my labor)
Assuming you use E2U's epoxy base coat, polyaspartic top coat, and color flakes, the cost to do your own garage floor coating for a 24' x 24' garage would be 576 sf X $3.50 = $2016.00
If you have some crack repair or spalling repair to do, that would add to the cost depending on how much you need to repair.
Also, If you have to rent any of the tools or equipment to prep the concrete, that would add to the total cost of the floor.
As a DIY'er or homeowner who may not have experience with epoxy garage floor installation, it's completely understandable to feel a bit intimidated by the prospect of tackling this project on your own.
But don't worry! With the right guidance and preparation, almost anyone can achieve a professional-looking epoxy floor coating that will make their garage space shine.
My guide will provide you with all the necessary steps and tips to help you get the job done right, and I'm confident that with a bit of patience and a willingness to learn, you can achieve fantastic results that you'll be proud to show off.
Additionally, I've created a very thorough video training course that'll teach you how to install an epoxy garage floor coating.
I have multiple training videos of garage floors I've installed in the course that I'm using to teach you how to do this properly.
Interestingly, one of the floors has some cracks and spalling we had to repair so you'll get a good look at how to fix your concrete if you have some repairs to do.
Is a DIY epoxy garage floor worth it?
Answer: Yes, a DIY epoxy garage floor coating is absolutely worth it! Not only does it provide a beautiful and professional-looking finish to your garage, but it's also a cost-effective way to upgrade your space and increase the value of your home.
Additionally, an epoxy coating is durable, easy to clean, and resistant to stains and spills, making it the perfect choice for high-traffic areas like garages.
Can I apply an epoxy garage floor coating on a previously painted surface?
Answer: It's not recommended. The new epoxy coating will have better adhesion if you remove the old paint and start with clean, bare concrete floors for the best results.
How long does it take for epoxy garage floor coatings to dry?
Answer: It typically takes 24-72 hours for the epoxy to fully cure and dry, depending on the temperature and humidity of your workspace.
Is it necessary to etch the garage floor before applying epoxy?
Answer: Acid etching concrete isn't recommended by Professionals, it's better to grind the surface of the concrete to ensure that the epoxy adheres properly and provides a strong bond.
Can I use regular paint brushes and rollers for my epoxy garage floor coating?
Answer: Yes, For most epoxies, regular 3/8 nap rollers and chip brushes work best. However, depending on your brand of epoxy you may need epoxy rollers and brushes. Check the manufacturer's recommendations to be safe.
Is it necessary to apply a topcoat over the epoxy garage floor coating?
Answer: Yes, a topcoat is necessary to protect the epoxy and provide a high-gloss finish.
How do I maintain my epoxy garage floor after installation?
Answer: Simply sweep, vacuum regularly, or use a leaf blower for loose dirt and debris, to wash use a mop with a mild detergent solution like Dawn as needed.
Is it necessary to wear protective gear when applying epoxy garage floor coating?
Answer: Yes, it's important to wear gloves, a respirator if it has strong fumes, and safety glasses to protect yourself.
Can I apply epoxy garage floor coating in cold weather?
Answer: It's not recommended to apply epoxy in temperatures below 60 degrees Fahrenheit as it can affect the curing process and the final result.
To learn how to pour and finish concrete, install stamped concrete, build concrete slabs, and much more, I can help you in The Concrete Underground!
One more way to share everything-about-concrete.com
Hi, I am Mike Day, owner of Day’s Concrete Floors, Inc. in Maine. I've been working with concrete for 40 years now, and this website is where I can share with you all the knowledge, wisdom and expertise I've gained from installing all kinds of stamped concrete, concrete floors, concrete overlays, concrete slabs and also repairing & fixing cracked or spalled concrete.
There’s a lot to cover, so if you have any questions, contact me!
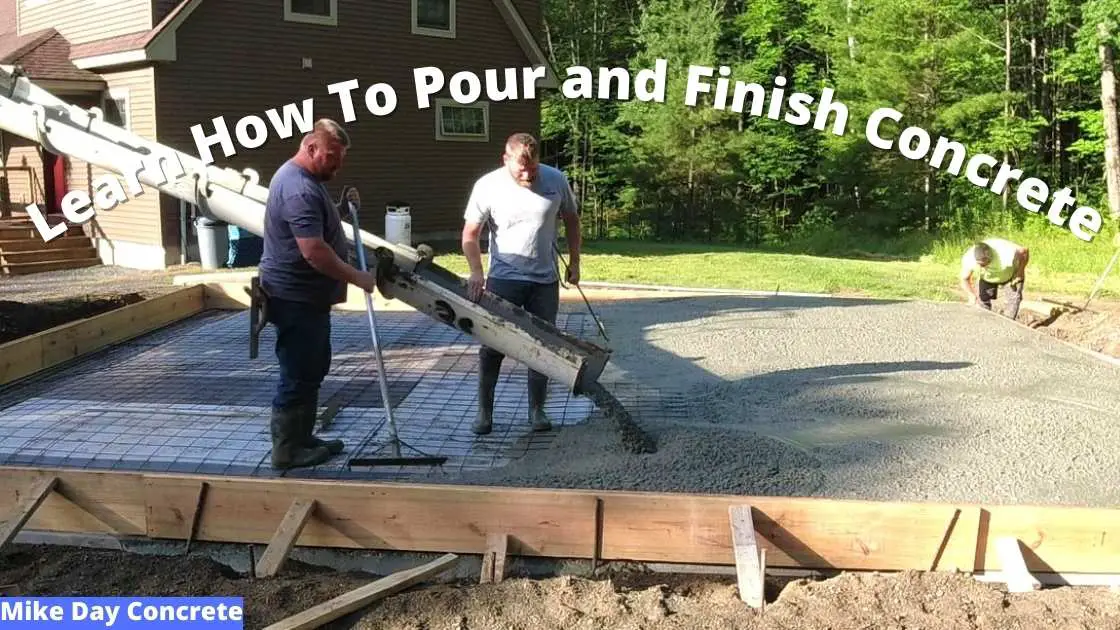
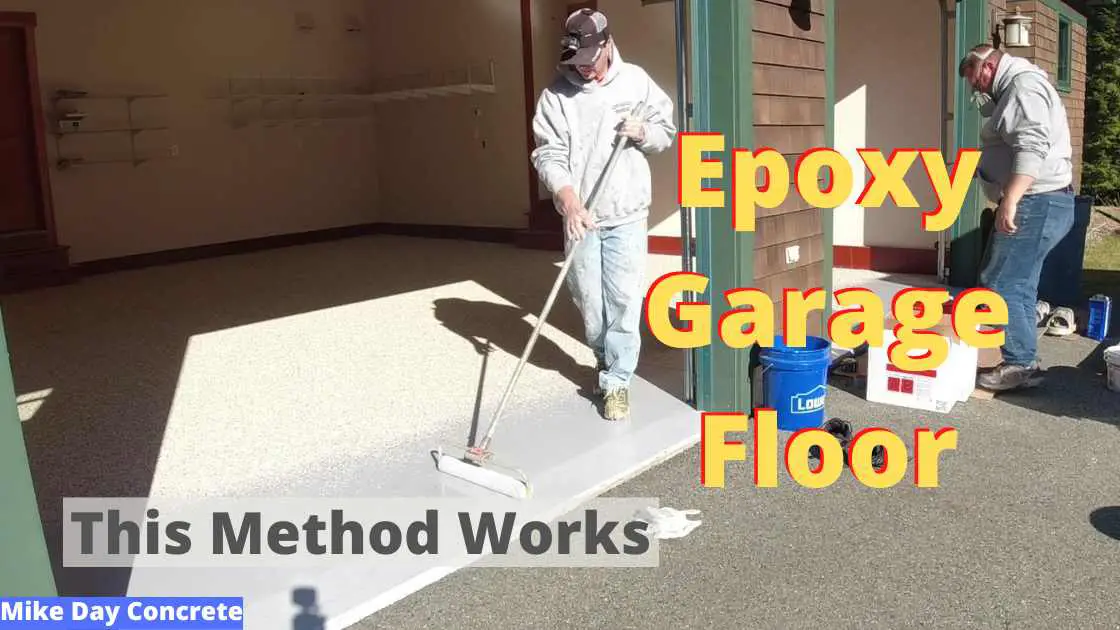
I'm a concrete contractor that will tell you how much a concrete slab will cost. These are my actual prices I charge for 2024 when I quote my customers.

Learn about and purchase the tools I use to do concrete floors, stamping, staining, polishing, countertops, sawing and a whole lot more.
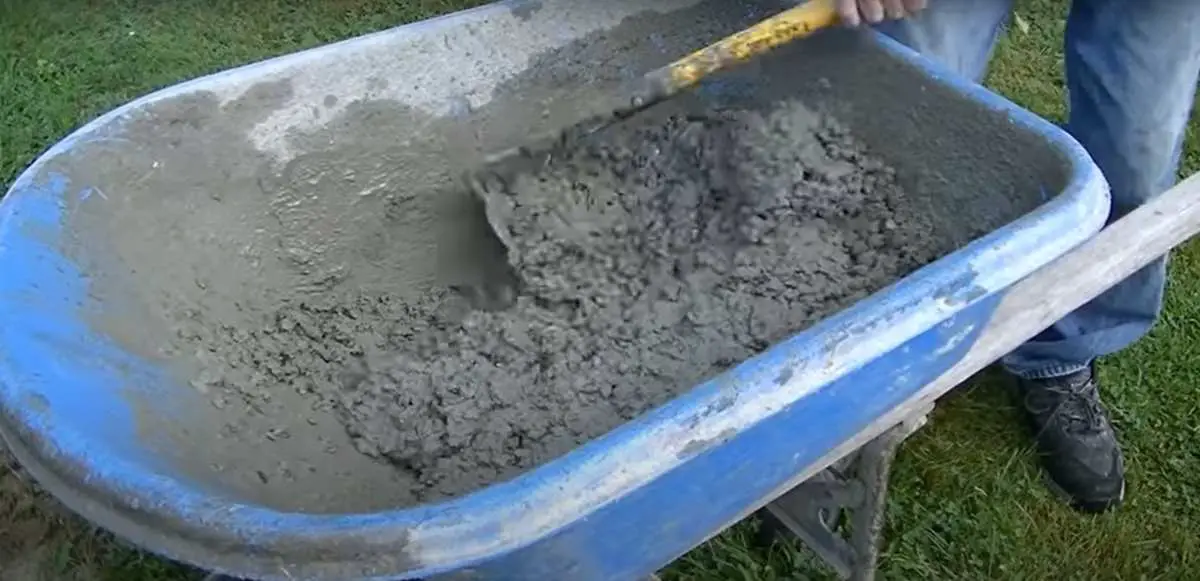
Learn how to make concrete manually without a mixer. Explore simple steps and tips to achieve the right consistency and strength for your construction project.
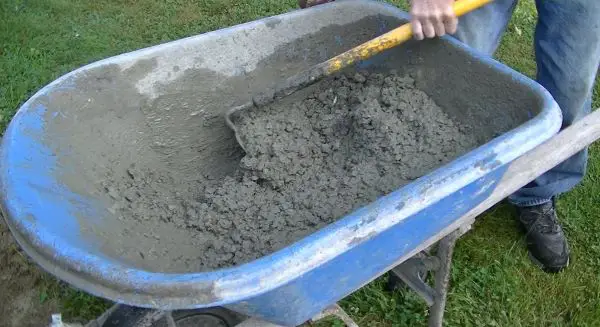
The proper concrete mixing ratios are 1:2:3, 1:3:3, 1:2:4 for cement, sand, and stone. Mixing ratios are based on what psi concrete you need. Mixing ratio chart
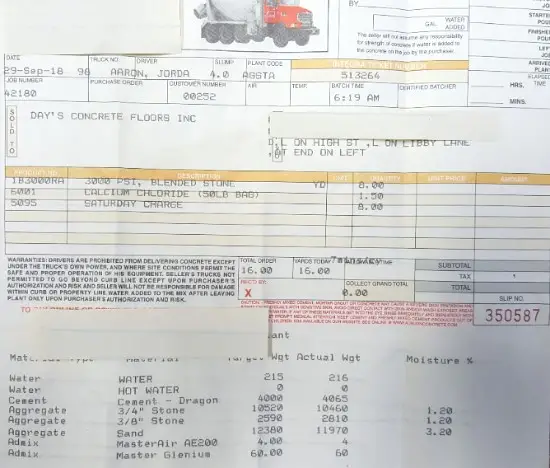
Learn the precise mix ratios for concrete strengths of 3000, 3500, and 4000 psi to ensure durability and stability in concrete construction.