
By Damjana Jakos • Last updated on Aug 17, 2024 • This post may contain affiliate links.
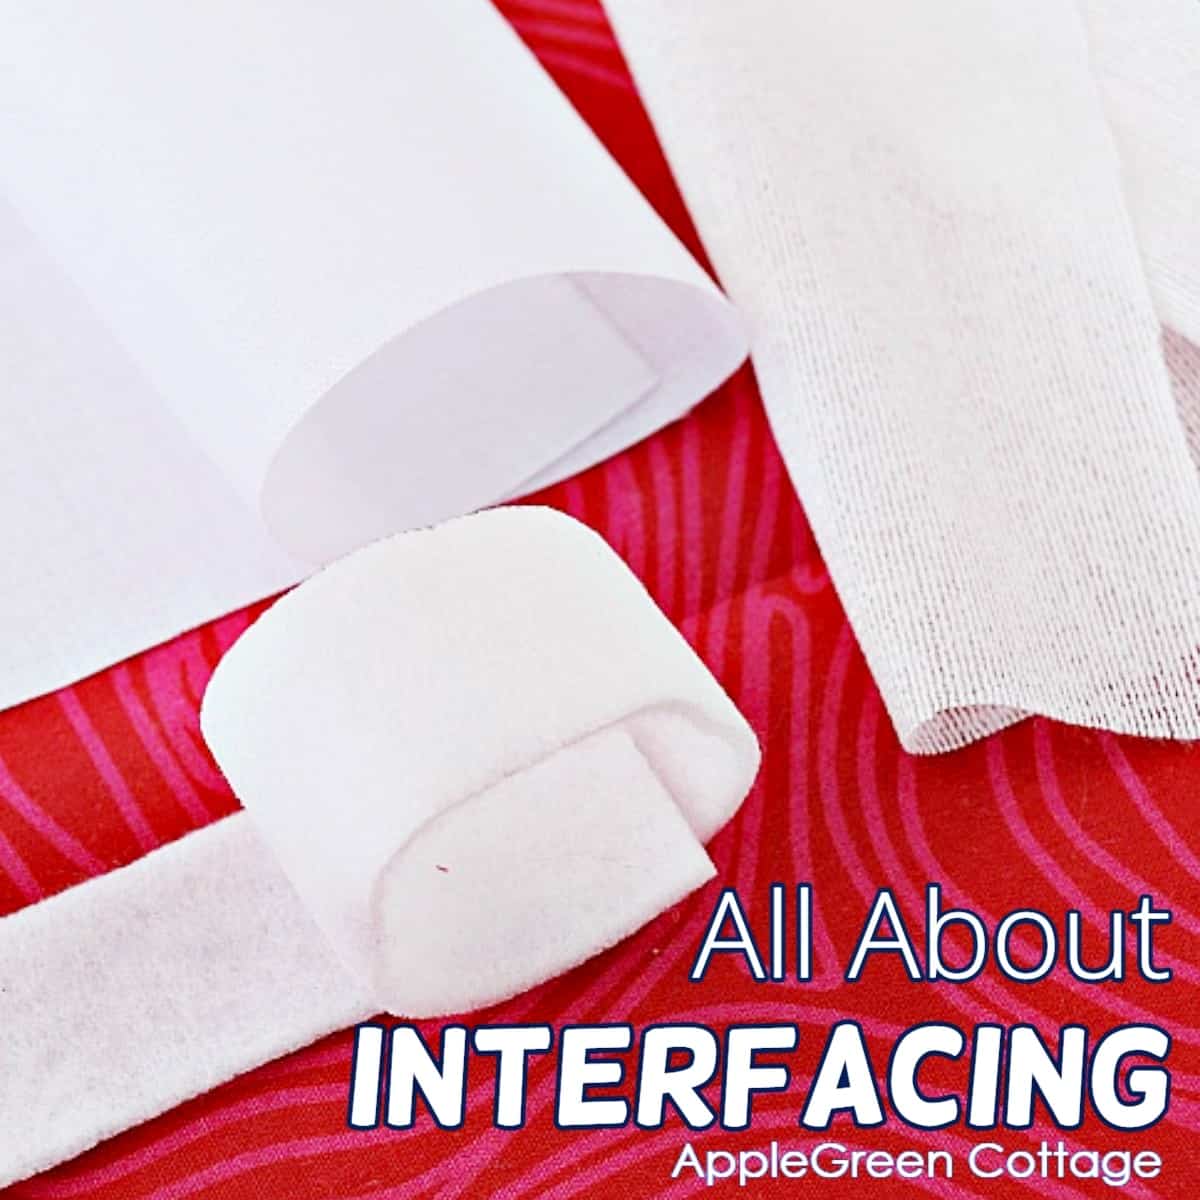
What is interfacing in sewing - here's a guide to interfacing that will make all your sewing projects easier. Avoid beginner sewing mistakes and do it right - the first time!
For pros too: A comparison chart added Jan 2024, and tons of information that will help even if you've been sewing bags for a while.
This interfacing guide is meant to be your learning resource, helping you find out what interfacings and stabilizers are out there, how to use them, which ones might be interchangeable (interfacing alternatives, good-to-know!), and last but not least, these are all notes I keep adding to - for myself and everybody who wants to use my experience in sewing with interfacings.

This post contains affiliate links. Thanks for your support. A list of popular interfacing brands and interfacing product names - with my opinions, descriptions, and recommendations included at the end of this post. Just scroll down if you're looking for exact product names on what interfacing to use for which projects!
Here I'll try to answer any questions you might have with interfacings, it's good to read it before you go fabric shopping.
Interfacings – these make or break a handmade bag.
Let me first cover a few basics, for those who are to do their first project with interfacing: interfacing will give your fabric additional stability needed for the optimal use of the product.
You'll always apply interfacing to the back of the fabric before you start stitching. It will not be visible in the finalized product.
Interfacing will add stiffness to the fabric, and prevent the fabric from sagging. An important factor in bags - with few exceptions, you'll want your bags to have body, stability, and some stiffness.
As an example, let's take a look at this simple, yet beautiful project tote:
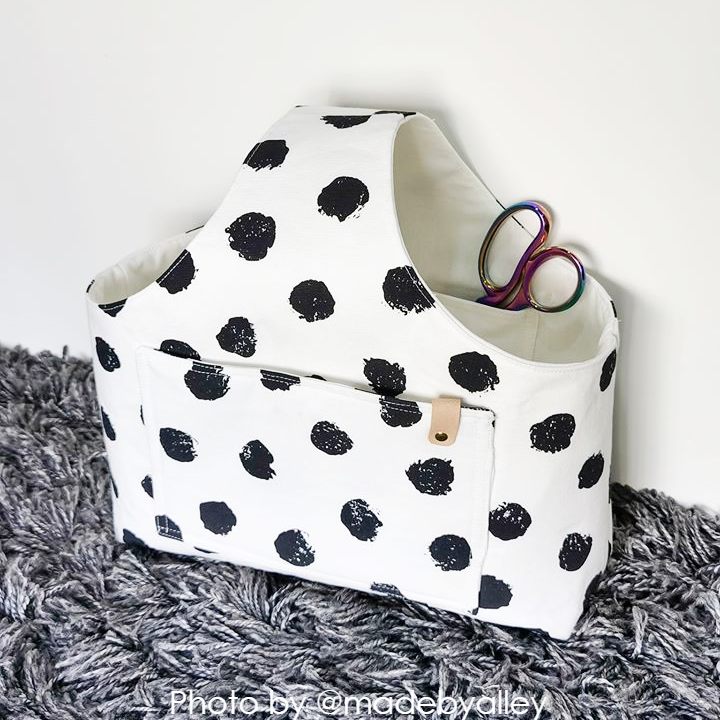
The stability of the tote above totally depends on the interfacing used. What is more, the pattern even gives you 3 options for interfacing, and guides you so you can safely choose exactly what you need - and what you have at hand. (always good to have options, especially with interfacing!)
An exception to a bag needing interfacing a slouchy hobo bag like this one I wrote about ages ago. Or these diy shoe travel pouches - they have zero interfacing, for good reasons.
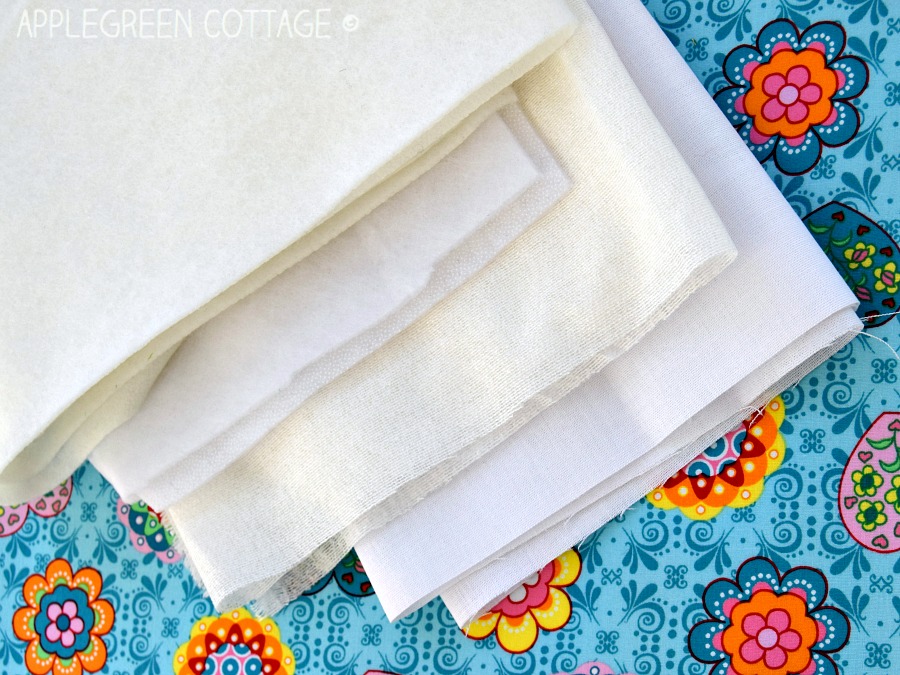
There are tons of various types of interfacing, varying in weight, stiffness, materials used, and use. Interfacing can be
An interfacing material can be used alone on fabric, or in combination. To explain, let's take a look at this bag:
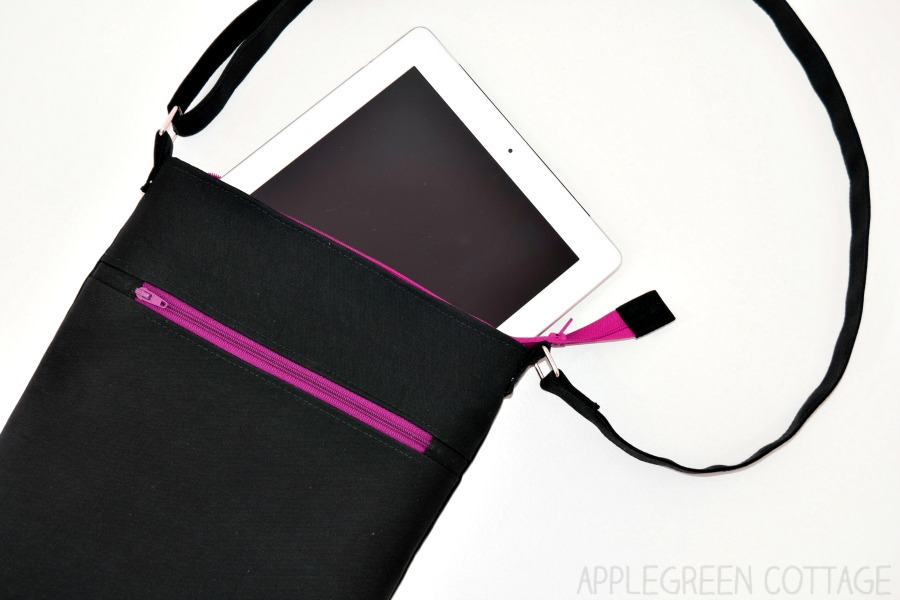
This pattern uses two types of interfacing, both non-woven and woven interfacing. These two combined give the tote just the right level of body and stability. Just what a good crossbody bag needs!
A tip on WOVEN interfacing though - watch out for the grainline, it needs to be taken into account when cutting! You don't need to do that with non-woven one, but it's not really that of a burden. I love either of those.
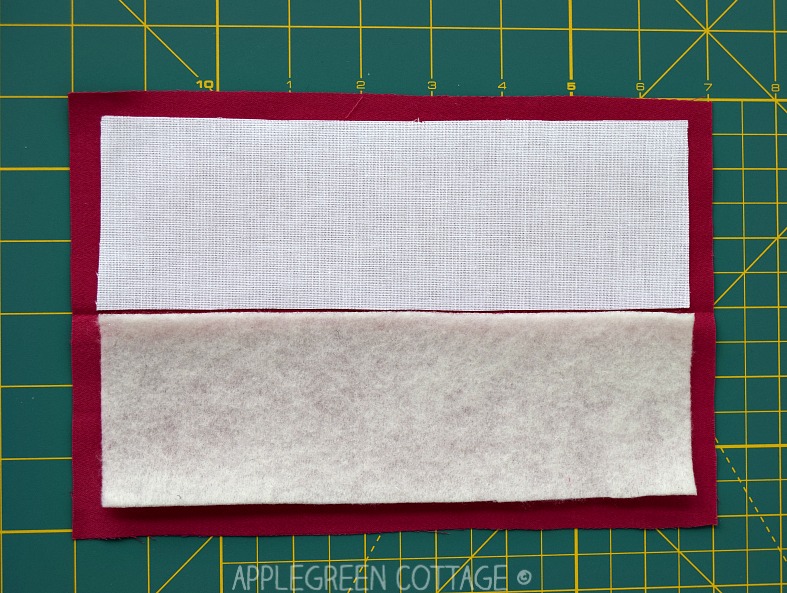
Considering the application, there are two types: fusible interfacing (iron-on) and non-fusible interfacing (sew-in). This was a major difference for me when I was starting out.
There are two ways to apply interfacing, depending on the type:
Although it's often a matter of personal preference and widely available, sew-in interfacing is not the first choice of many beginner sewers. It needs to be sewn together with the fabric, meaning it will take more of your time and you'll need to work with several layers.
But sometimes the non-fusible type will be the preferred or even the only option. When to use non-fusible interfacing?
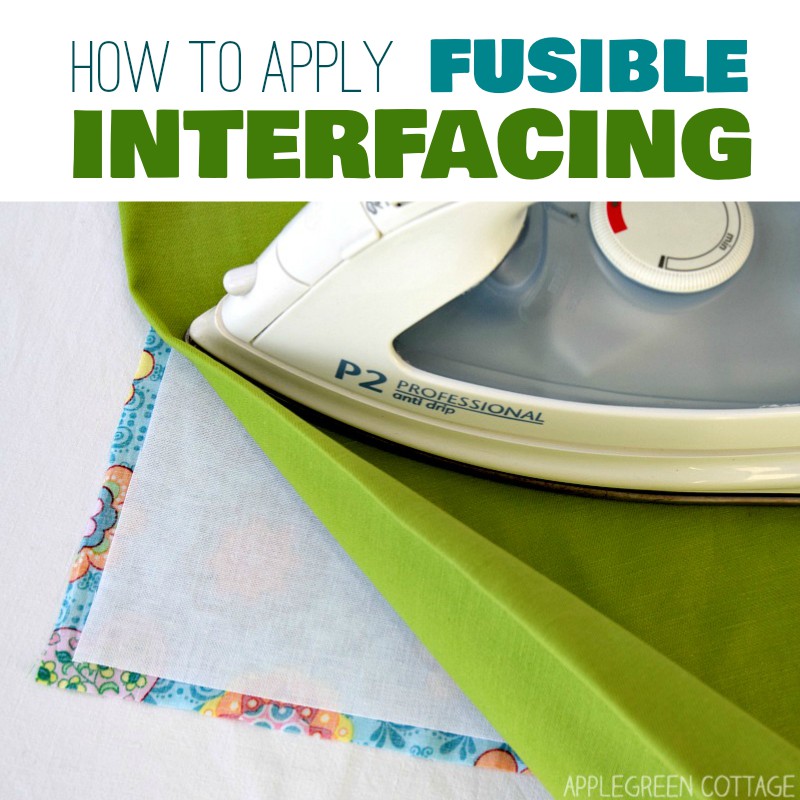
What is fusible interfacing? Super simple: it irons on your fabric. It will only take you a few minutes to iron it onto the back side of the fabric. No pinning or basting - take a look at this quick how-to:
But it can get even easier. Are you using vinyl for the first time, and are concerned that the heat from fusing would damage it? I've got you covered: use Smackdown self-adhesive fusible fleece instead.
A sewing friend from Australia told me about it, and I find it a terrific idea: it's not a high loft fleece, but a dense/low loft fleece. Like with a sticker, you peel off the backing and it adheres to the vinyl/fabric without needing to heat fuse. I noticed they sell it here on Etsy too.
Batting is usually non-fusible, it's a filler material used for making quilts. It CAN be used in place of interfacing, especially when you want to achieve that squishy, soft feel of your project. Like this one:
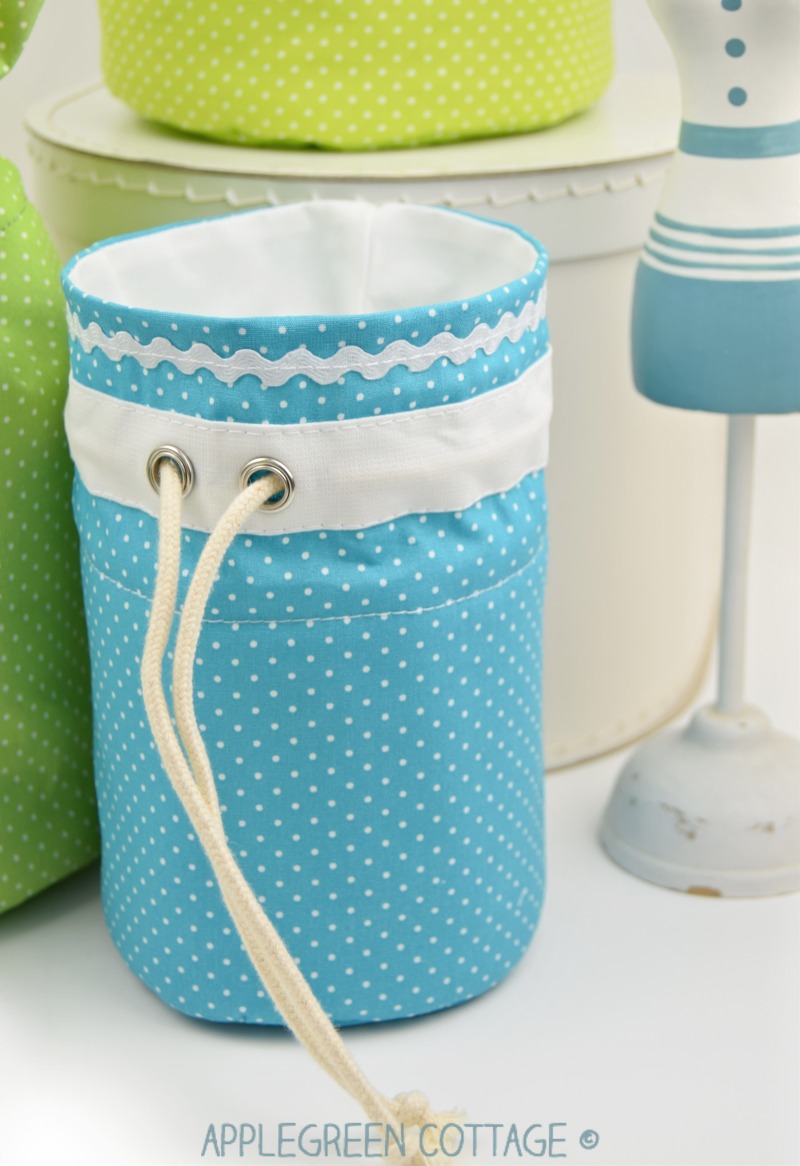
This project uses batting. So squishy and super soft, and a perfect home storage!
You will find fusible batting too, a popular choice is Heirloom fusible batting. But mind that this iron-on batting is fusible on both sides, so you'll have to assemble a (quilt) sandwich first, and only then press all layers together.
Use insulating thermal batting when sewing items for the kitchen that need to resist heat—like potholders, table pads, oven mitts, and ironing board covers. This special material helps protect against heat. One of the best-known brands of thermal batting is Insul Bright by the Warm Company. I use this one.
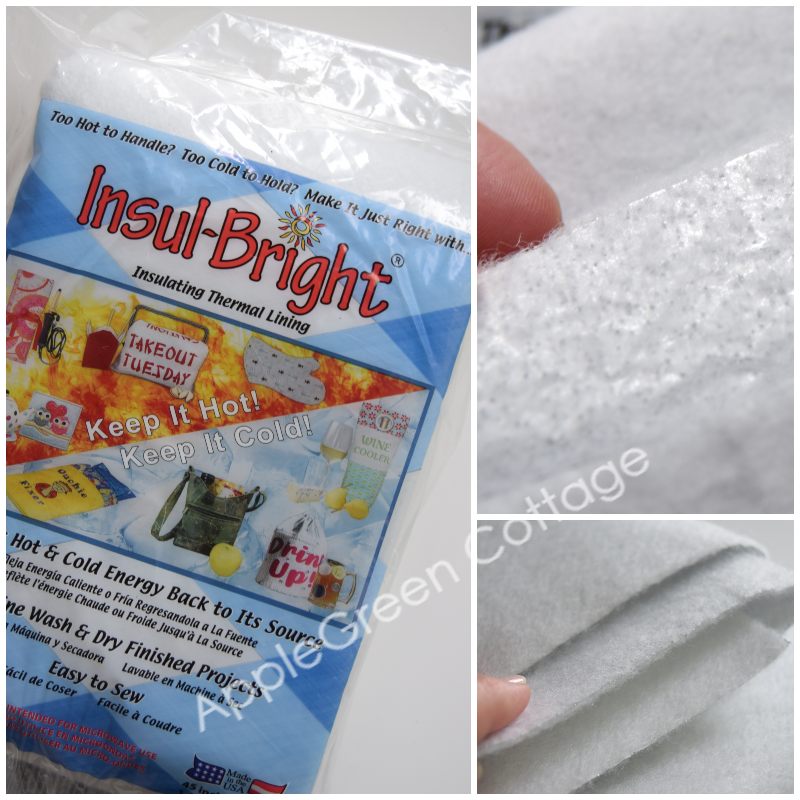
Insul-Bright is a needle-punched polyester insulating material. There is no right or wrong side to Insulbrite. You can use it either way shiny side or dull side out if you want. This product is NOT to be used in a microwave! See in the photo above, it has a thin metallic layer to reflect heat or cold - so please remember - no microwave for items made with this specific batting product.
Want to give thermal batting a try? Here is a classic potholder to sew, a heart mug rug tutorial, or this easy potholder pattern - super cute too! 🙂
Interfacings can range from lightweight through mid- and heavy-weight. As a rule of thumb, you always want your interfacing a bit lighter than the fabric, so choose accordingly.
Have you ever skipped interfacing on a bag - just because it was too overwhelming? Or because you had NO idea which one to use? Let alone knowing which fabric is good for sewing bags! I have, too. The result? Not a bag you'd like to see.
Exactly this is why you'll always find precise interfacing recommendations in all my bag patterns. (no guessing!)
Interfacing will add stiffness to the fabric, and prevent the fabric from sagging. It's especially an important factor in bags - with few exceptions, you'll want your bags to have body, stability, and some stiffness. An exception to this would be slouchy hobo bags like this one I wrote about ages ago.
There are so many different ways to use interfacing in bags, and each one will end up in a different result. Those super sturdy bags and zip-around wallets? The majority of those have Decovil at least in some part, or craft foam.
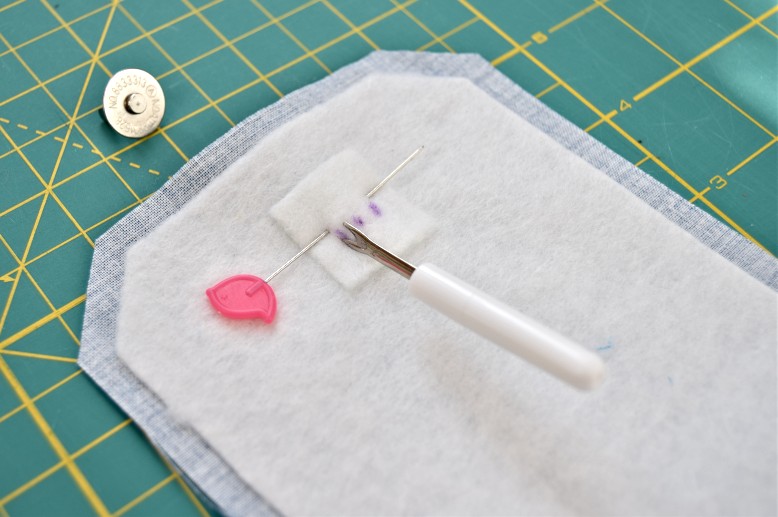
A smart interfacing hack: Want to make a bag feel stiff but don't want the interfacing to show wrinkles from turning your bag right-side-out? Here's an easy tip: fuse some light or even medium-weight interfacing to the fabric first, and only then apply stiffer interfacing or stabilizer, say, Decor Bond or Decovil Light. I often use Vilene G700 or SF101 for that.
Examples of how to use different interfacings? Check out my free market bag pattern and the sturdy zipper case pattern and see how I mixed and matched several types of interfacing.
And here's another quick tip if you want a good-looking bag lining: always use a layer of light-to-medium-weight interfacing like Pellon SF101 Shape Flex or Vilene G700. It always brings your bag to a higher level of quality. Sometimes, I use Vilene H200 - a bit stiffer than G700 and a non-woven but less expensive, still pliable and soft. But more brands and products are coming on the market all the time. I'm listing more of this type of woven light-to-medium weight interfacings below.
I've tried and tested a lot, and I mean a lot, of lighter interfacings to use on linings and pockets. Scroll down further, there are quite some I love and use - and you get tons of options to use, depending on where you live.
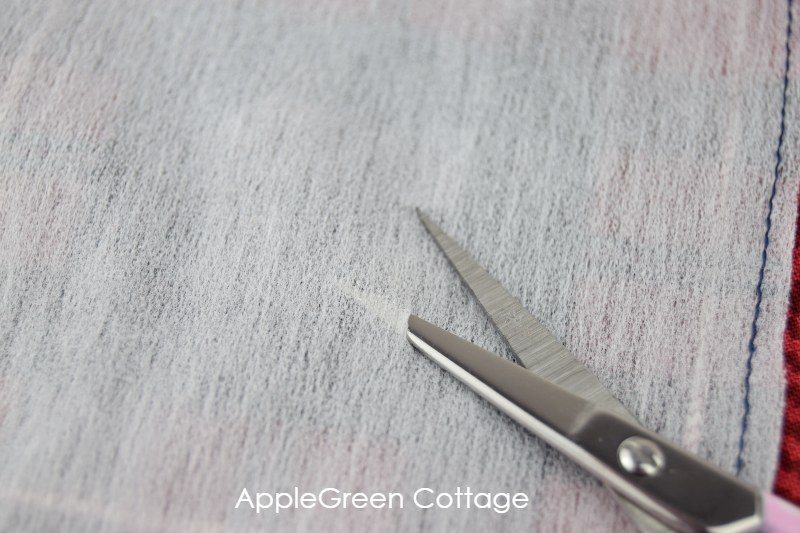
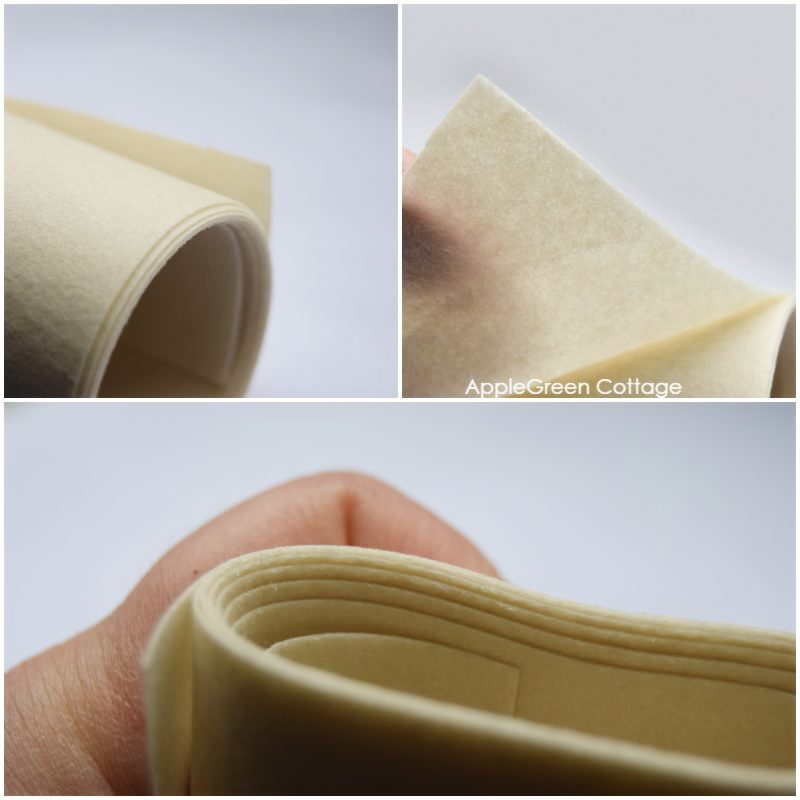
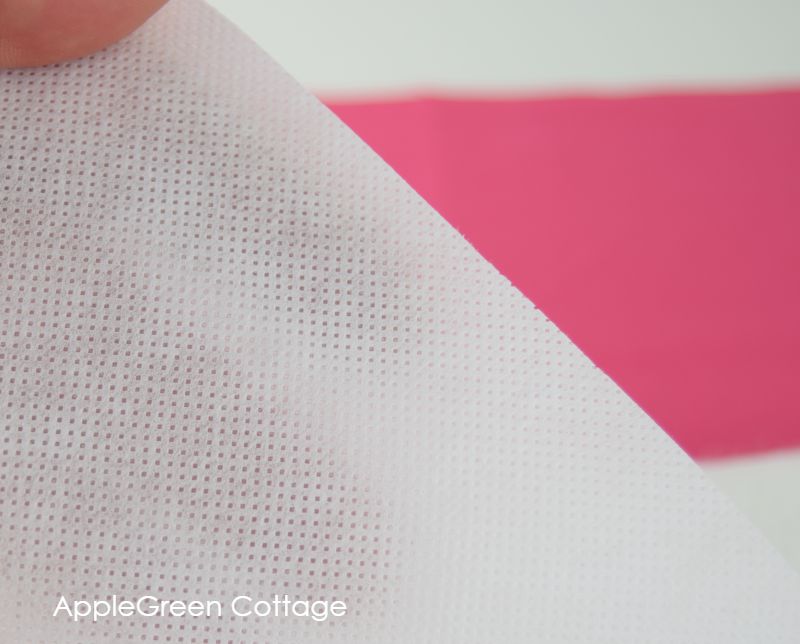
A closeup of Vilene H200 - nonwoven, thin, soft, and pliable. Typically used to strengthen collars on shirts and cuffs, I sometimes use it to line pouches and zipper bags. Love it!
Also, Vilene H200 was involved in a great sewing hack here at AGC: it makes it super easy to do turned edge applique!
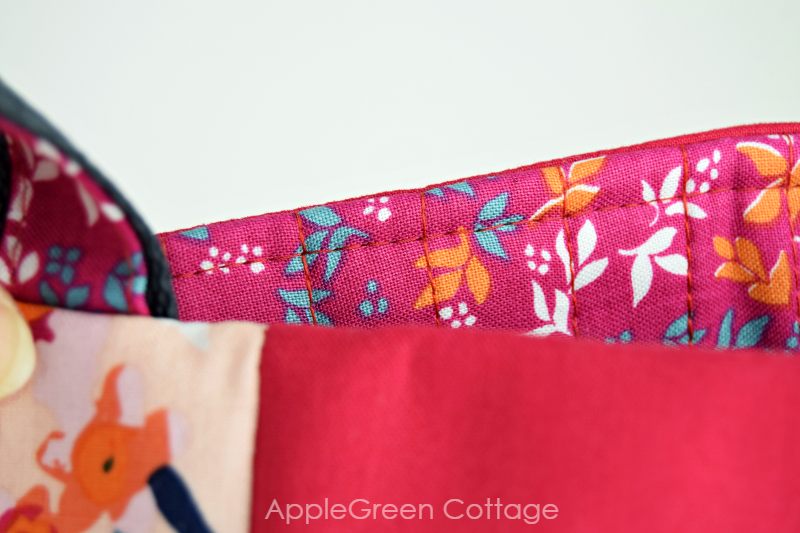
Have no fusible interfacing at hand but would love to give your tote that extra body and weight? Use the (sew-in) cotton batting instead, and add a few simple quilting lines. I quilted the bigger of these two market bags. It turned out beautifully!
Here is a list of fusible fleece types, stabilizers, and (mostly fusible) types of interfacing I love to use. Depending on what effect and level of stability you are after, one of these will suit your project.
First a chart, then all the clarifications and detailed reviews of each of them, and then more.
One more mid-weight type of interfacing I need to mention with making card slots, pockets, and the like - but this one is woven:
EB Fuse Medium (160 gsm) by Emmaline Bags is great for use on card slots, the outer of small bags, and it gives you a slightly stiffer feel than the Lightweight version of this same brand. So I'd say, equivalent to Craft Fuse, but woven!
Not, by any means, an exhaustive list! There are many more, and I keep finding new materials and brands, and I'll be adding to this list, so make sure to come back soon. And there's one more group to discuss:
Sometimes, you'll want your project, a bag, to stand up on its own, and to make it super stable, you might want to use a special stabilizer. I'm listing these separately here (but if I'm honest, this section is a bit subjective, and fusible fleece should be listed under stabilizers here, too)
And now, two super heavy-weight stabilizers:
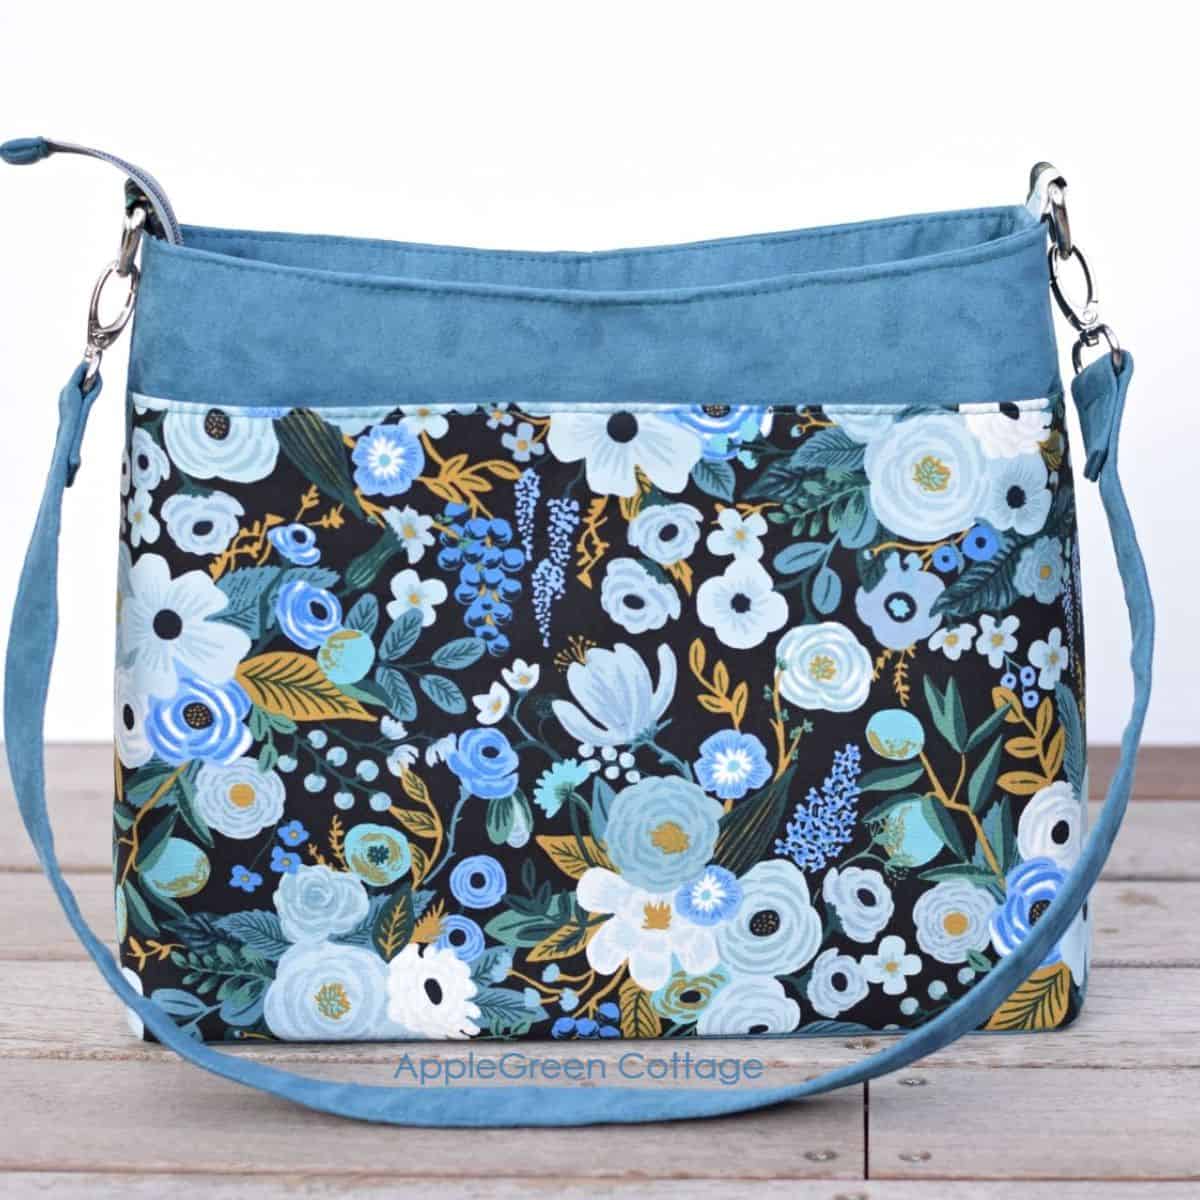 handbag using the applegreencottage Sirina shoulder bag pattern" width="1200" height="1200" />
Still talking about bag stabilizers, but this one deserves a whole new chapter. Flex foam is great but a totally different beast. Most popular brands include ByAnnie's Soft'N'Stable, Vilene Style-Vil, single-sided fusible BOSAL, and Pellon Flex Foam 77 (sew-in - also this at Walmart), and Pellon Flex Foam 78 (1-sided fusible - also available at Walmart). I have used Vilene and Pellon ones, and loved them.
Foam adds stability to your bag and a lot of body, but it sews so easily. Usually, you'll remove it from the seam allowance so you don't end up with too many layers when topstitching, but in reality, it does not cause any issues. The needle goes through easily, it's puffy but not dense so the needle won't stick if you have multiple layers of foam. The real reason why you want it out of your seams is the fact that your sewing foot can only be lifted to a certain height - and that is limited with domestic sewing machines. Give foam a try, you'll love it!
Check out my GLAM Girl Purse pattern if you want to give fusible flex foam a try.

I love fusible foam, but mainly use it on smaller pieces like the curvy GLAM GIRL purse. However, some bag makers will stay away from foam if it's fusible, as it will sometimes cause wrinkles on the fabric if you're using lightweight materials, say quilting cotton.
TOP TIP: If the foam has wrinkles, try steaming the fabric from the front side, not touching it, but just holding the iron close to it and leaving out a lot of steam. It works great for me.
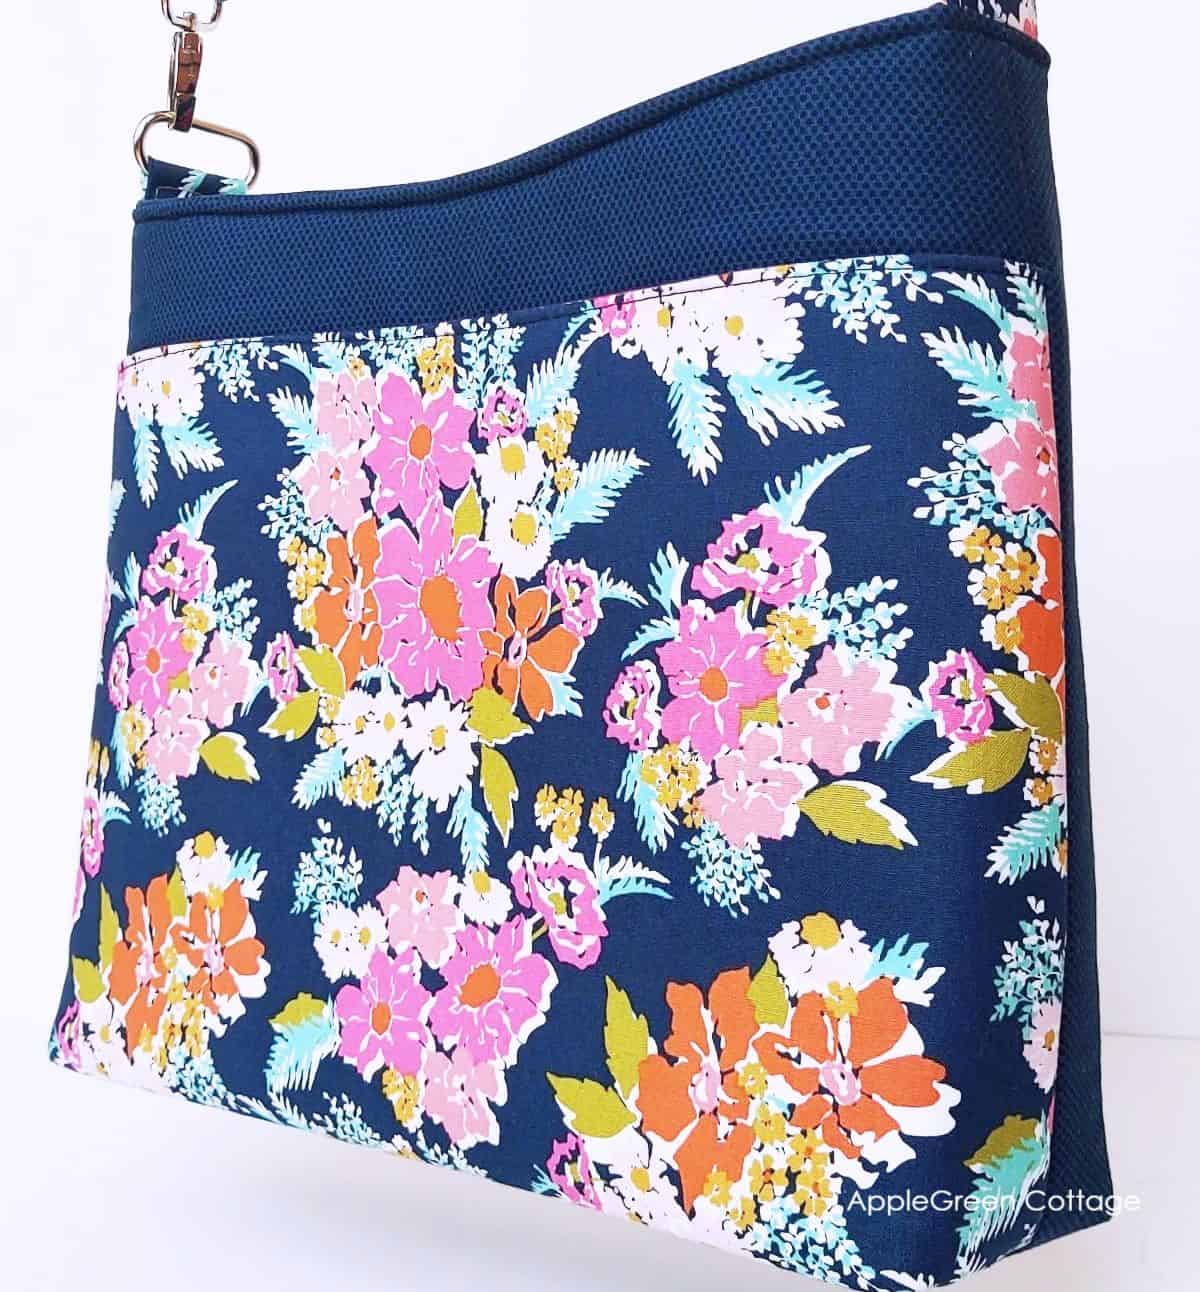
My go-to choice for medium- and large handbags, when I use foam, is Style-Vil non-fusible foam. I made one of my SIRINA bags using foam:
The best solution for sewing with fusible foam I can recommend is using a layer of SF101 as a base on the entire fabric piece, and fusing foam only on that layer. If your foam is fusible, cut it a bit smaller, that is, without the seam allowance, before fusing. This also works with other types of stiff interfacing like Decor Bond.
If you use the non-fusible foam, you cut the same size as your fabric, then baste in place, and then sew the layers together. After that, you cut the foam around the seam so you have as little excess left as possible when you topstitch.
The non-fusible foam also looks amazing when you quilt it. Again, first, apply woven interfacing then add foam to this base, then quilt. Yay!
TOP TIP: When attaching sew-in foam to the back of your pieces, you can chop off some foam on the corners before basting it to the fabric. This will reduce the bulk on the seams, especially when sewing bag bottoms and sides.
Bouncyfirm! The Serial Bagmakers sell it, it comes in two thicknesses, 210 and 160. Bouncyfirm 160 is a medium-firm fusible bag reinforcement. The best thing about it? It's both firm and flexible - easy to use and good-looking in a finished bag. Need I say more? Take a look at it on the Serial Bagmakers site, they have a video review about it too. It adheres very well!
Editing in October 2023: there's a new version of Bouncy Firm 160, which is Bouncyfirm 160 Lux, which is a bit smoother than its predecessor. Perfect for when you don't want all the bulk of the foam, but want your bag to bounce back up after you've squished it.
Sometimes, people would ask me how to clean the iron if the sticky glue from interfacing gets on it. It's inevitable you'll at some point get some of the glue on your iron. Don't stress, there is an easy solution: a wet dryer sheet will remove glue from an iron. Now you know my secret 🙂
I've also heard of (but did not try it out) mixing a few drops of liquid dish detergent and water, then using a small cloth to wipe away sticky residue.
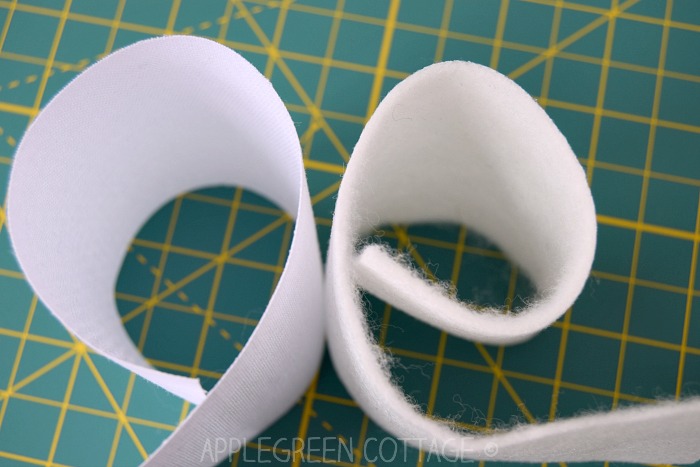
Interfacing is a great addition to a project when you need to make your fabric stiffer, more stable or to strengthen an area, and it also gives a sewing project some shape and body. After the quick sewing tip on how to apply interfacing from a while ago, here's a short beginner's guide to interfacing, to help you start off on the right foot:
Or, to put it differently, what is the best type of interfacing/stabilizer to use for easy sewing projects?
If you're mostly working on easy sewing projects, there's high chance you'll simply get away by using one type: fusible fleece. It feels like felt, with one adhesive side, and it will give your project some nice body. Several brands and thicknesses; start with one and then switch to a thicker, denser one like Vilene H640 or go for a thinner one like Vilene H630.
Need examples? I used fusible fleece in these easy projects:
TRIA Mini Coin Purse Pattern - Updated! How To Sew Fabric Bookmarks with Felt Circles Mini Diy Storage Bin - Free Template Gift Bag Pattern - Perfect for Christmas Sewing!I used a thinner, Vilene H630 fusible fleece here in my Marble Maze - Free Pattern and Tutorial - it's just a bit lighter than my favorite fusible fleece Vilene H640. You'll recognize it from far because it's totally light and puffy and has tiny glue dots on one side.
Don't let this list intimidate you. Just so you know, you WILL find your favorite soon. Just start with general all-purpose interfacing, maybe even start with fusible fleece. Then later check out a few more when you get a chance, and you'll see what you prefer. Never the same with two sewists!
And last but not least, a money-saver: here's one little tip for you that might save the day when you are sitting at your sewing machine, making a project when you realize you're running out of your interfacing, fusible felt, or batting:
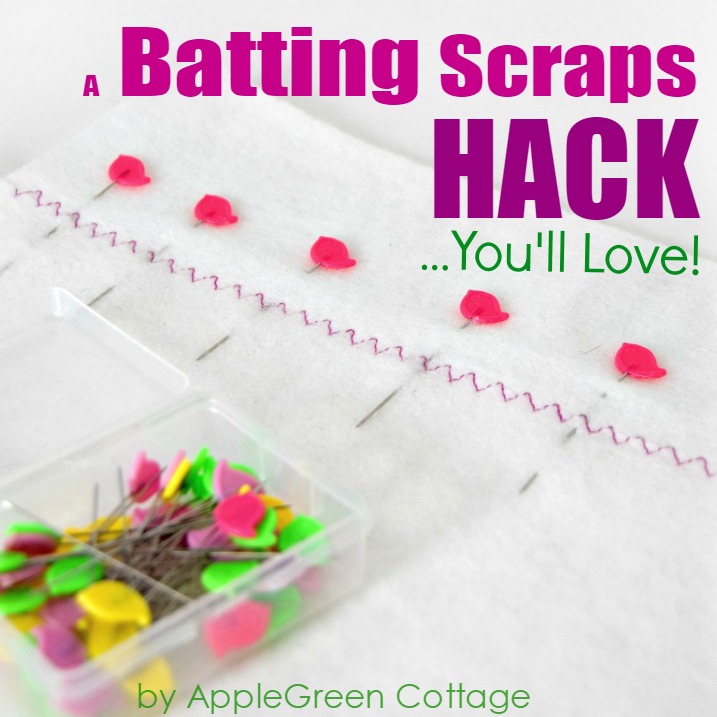
And one thing more: never toss away any scraps of interfacing, interlining or anything even closely resembling batting! Why? You'll use them on projects like these:
If you've made it this far, we have a lot in common! This interfacing guide is meant to be your learning resource, an online resource on what interfacings and stabilizers are out there, how to use them, which ones might be interchangeable (interfacing alternatives, good-to-know!), and last but not least, these are all notes I keep adding to - for myself and everybody who wants to use my experience in sewing with interfacings.
Well, this is a lot to digest in one read, but I hope it's a good how-to for all your interfacing questions.
I have been, and will add to this guide, as soon as I learn a new thing I go in and add more information - a good reason for you to bookmark this interfacing guide and return to it when you need it!
Next stop: see where to buy bag hardware. Don't forget to mix in all my bag making tips, and - happy sewing!
Did you like this interfacing guide? If yes, feel free to see more of the basic sewing tips series:
Get email updates and never miss out on new patterns, printables, and tutorials:
Or …check out this popular PDF pattern – the Kalina Mini Wallet in our shop. So practical!
Or check out the classic SIRINA Shoulder Handbag pattern in our shop. Ample space, pockets inside and outside, two closure options, and a beautiful feature front pocket - for your favorite fabric print!
Hello Vickie
Thanks for this very informative information. I am an experienced professional and I’ve found the varieties of fusing available to cause much discussion within my work place. I shall be printing this out for my staff so they can check what to use. I couldn’t have explained it better, so thank you!
So much information! I'm an experienced sewer, but this is so informative. Thank you for taking the time to put so much thought and detail into it for us.
Hello! I’m still learning about all there is to know when it comes to “sewing”. and I’m new to interfacing so this taught me a lot! I have just one question: can I use a Heat n’ Bond iron-on adhesive over the fused interfacing for appliqué; or do I need a layer of fabric between them? Thank you!☺️
Tiffany hi,
thank you for the question. I'm not entirely sure what you mean, so it would be immensely helpful to see a photo. If you're asking about stacking interfacing layers on top of each other, I often do tehat for bas to improve stability. For anythign that needs to stay flexible and thin, I'd always try combining interfacing layers on a scrap piece first to make sure they don't get too bulky. I hope this helps,
I’m beginner learn with sewing machine . I want to learn how to make the reusable grocery bags 2 different color for reverse . I hope you can help me with step. I want my pattern is 21x20. Like 36 inch
Vickie hi,
so happy to hear from you. Let me see what I can do. currently, I have at least two tote tutorials in my drafts, one the basic one that would be perfect for you. I'm not sure those are the same dimensions, but it will definitely be a help. Now just to find the time to do the step-by-step photos! xoxo,